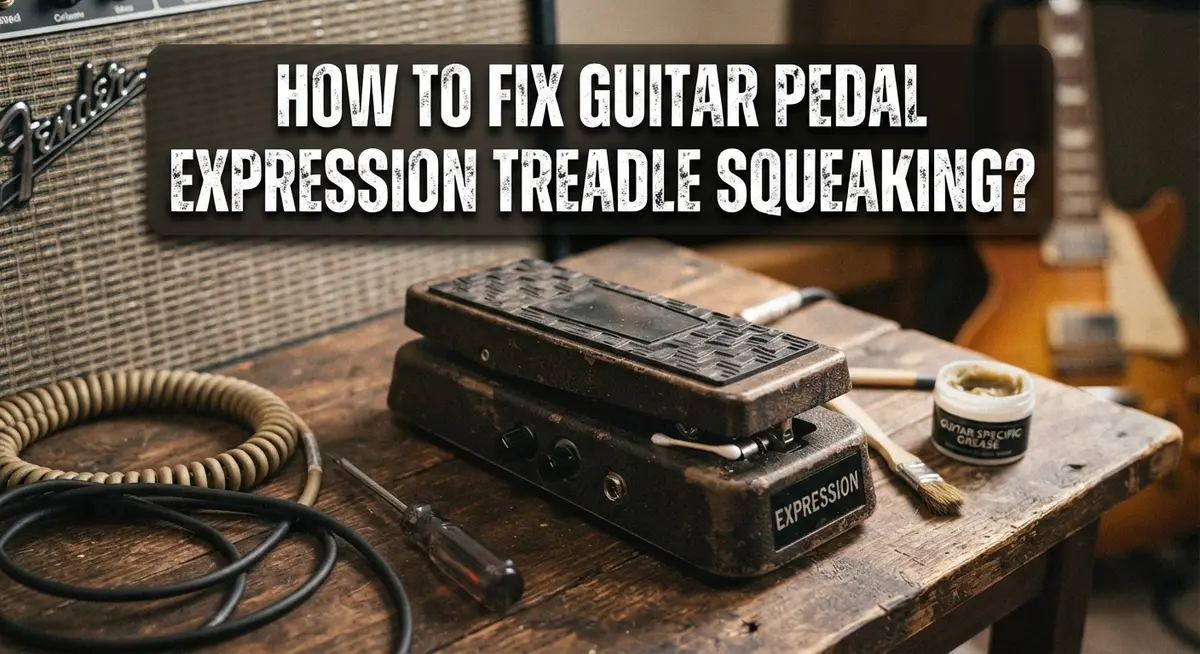
How To Fix Guitar Pedal Expression Treadle Squeaking?
That annoying squeak from your expression pedal can ruin a smooth performance. You press down to swell a volume or wah effect, and instead of clean sound control, you hear a distracting creak. It’s a common issue, especially with popular units like the Line6 Helix.
The good news? This squeak almost always comes from friction at the treadle’s pivot points. It’s a simple mechanical problem, not a sign of a broken pedal.
This guide will walk you through the exact fix. We’ll show you how to safely open your pedal casing and find the real source of the noise. You’ll learn where to apply lubricant for the best results.
In a Nutshell
- Find the source first. The squeak almost always comes from friction at the pivot points, not from electronics or cables. This applies mainly to Line6 Helix and Stadium units.
- Open the casing carefully. Remove the back panel to access the internal pedal mechanism. Take your time so you don’t damage small parts.
- Loosen the pedal bolt. This gives you room to work and lets you reach the pivot joint underneath.
- Locate the left side pivot joint. This is the exact spot causing most of the noise. Grease works best here.
- Apply lubricant precisely. A butter knife helps you get grease into tight spacers without making a mess. Cover the joint fully for lasting results.
- Reassemble without over-tightening. A bolt that’s too tight brings the squeak right back. Snug is enough.
- Test before closing up. Rock the treadle a few times to confirm the squeak is gone before you seal the casing.
Why Expression Pedal Treadles Squeak
Your expression treadle squeaks because of friction. The treadle rotates on pivot points, and metal parts rubbing together create that annoying noise. This happens in nearly every expression pedal design when moisture or dust builds up around the joints.
The main culprit sits on the left side underneath the treadle. This pivot joint bears all the weight and motion stress. Every time you press down or rock the pedal, friction increases at this exact spot. Over time, the lubricant that was originally applied during manufacturing dries out or gets contaminated.
Friction creates squeaking, not electrical problems. Many players assume the noise comes from broken electronics or loose wiring. In reality, the mechanical parts are doing their job. The squeak is just a sign that the joints need attention.
The pivot spacers also contribute to the problem. These small metal or plastic pieces sit between the treadle arm and the housing. They allow smooth rotation but can develop squeaks when they dry out.
Temperature changes make squeaking worse. When your pedal sits in a cold room then heats up during performance, metal expands and contracts. This movement increases friction at the pivot points.
Dust and sweat also play a role. If you perform outdoors or in dusty venues, particles settle into the joints. These particles mix with old lubricant and create more friction.
The good news? Squeaking is fixable. You don’t need replacement parts or expensive repairs. The solution involves accessing those pivot points and applying proper lubrication. Once you understand why the squeak happens, the fix becomes straightforward and simple.
Tools and Materials You’ll Need
You don’t need many items to fix your squeaky expression treadle. Most of what you need is already in your home or toolbox.
Start with lubricant. Grease works best for this job. You want something that stays in place and reduces friction at the pivot points. Grease doesn’t dry out quickly like oil does, so it keeps working longer. Make sure whatever you choose is safe for metal and rubber parts.
Get a butter knife or small spreader. This tool lets you apply grease to tight spaces without your fingers getting in the way. The thin blade slides into the spacers and pivot joints easily. Precision matters here because you only need grease where friction happens, not everywhere inside the pedal.
Gather basic tools. You’ll need a screwdriver to remove the back panel casing. Check what type your pedal uses: Phillips head or flathead. Have it ready before you start. A wrench or socket set helps you loosen the expression pedal bolt. Keep it handy so you don’t waste time searching mid repair.
Grab a cloth or paper towels. These clean away old grease or dust from the pivot area. Dirt mixed with lubricant creates a paste that makes squeaking worse. Wipe the joint clean first, then apply fresh grease.
Optional but helpful: a flashlight or headlamp. The pivot joint sits underneath the treadle in a dark spot. Better lighting helps you see exactly where to apply lubricant. You work faster and more accurately with good visibility.
That’s truly all you need. No special equipment or expensive products required.
Step-by-Step: Disassembling the Pedal Housing
Start by powering off your unit completely. Safety comes first when you work with electronics.
Flip the pedal over so you can see the back panel. Look for screws holding the casing in place. Most expression pedals have three to five screws around the perimeter.
Use your screwdriver to remove each screw slowly. Keep them in a small container so you don’t lose them. Set the back panel aside on a clean surface.
Now you’ll see the internal mechanism. The treadle connects to a rod or shaft that rotates at a pivot point. This is where the squeaking starts.
Look underneath the treadle assembly. You’ll spot a bolt holding the treadle to the main housing. This bolt needs to loosen, not come out completely. Turn it counterclockwise about one half turn.
Locate the left side pivot joint. This sits directly underneath where the treadle rocks back and forth. The spacers around this joint are your target area.
Wipe away any dust or old debris from the pivot area. Use your cloth or paper towels to clean the joint thoroughly. Dust buildup traps moisture and creates more friction.
Shine your flashlight into the gap. You want a clear view before applying lubricant. Look for any visible wear marks or corrosion around the pivot spacers.
Don’t disassemble the pivot joint itself. You only need access to apply lubricant from the outside. The joint stays intact during this entire process.
Once everything is clean and visible, you’re ready for the next step. Your workspace is prepared and you understand the internal layout. The hardest part is simply getting organized and taking your time.
Step-by-Step: Locating and Lubricating the Pivot Joint
The pivot joint is the heart of your expression pedal. This is where the treadle rotates, and friction here creates that annoying squeak. Finding it takes just a few minutes.
Look underneath the treadle on the left side. You’ll see a metal joint where the treadle connects to the pedal body. This spot is usually darker and harder to see, which is why a flashlight really helps. Shine it into the gap between the treadle and the casing.
The pivot joint has small spacers around it. These spacers sit between metal parts and allow smooth rotation. Over time, they dry out and friction builds up. That friction is what makes the noise.
Start by loosening the bolt that holds the treadle in place. You don’t need to remove it completely. Just loosen it enough to access the joint. This gives you room to work and helps you see the exact location better.
Once you can see the pivot area clearly, examine it closely. Look for any dust, dirt, or dried grease. Wipe this away gently with a cloth or paper towel. Clean surfaces accept new lubricant much better than dirty ones.
Notice the small gaps around the pivot point. These are your target areas for lubrication. The spacers fit into these gaps, and that’s where squeaking happens most.
Don’t try to disassemble the pivot joint itself. You only need to access it from outside. Keep the bolt loose for now. In the next step, you’ll apply lubricant directly into these gaps. The grease will flow down and coat the spacers where they need it most.
Reassembling the Pedal and Adjusting the Bolt Tension
Now comes the final stage where you put everything back together correctly. This step matters because improper reassembly often causes the squeaking to return or get worse.
Start by checking that the lubricant has settled into the pivot joint. Give it about one minute after application. The grease needs time to work into the friction points properly.
Next, locate the bolt that holds your treadle in place. This bolt sits near or through the pivot joint area. Before you tighten it, make sure the treadle moves freely through its full range of motion. Push down and release it a few times. You should feel smooth resistance, not grinding or catching.
The bolt tension is critical here. Tighten it slowly and gradually. Stop as soon as the treadle feels snug. Do not over tighten this bolt. Many people make this mistake and end up right back where they started with squeaking sounds. The goal is firm enough to keep everything stable, but loose enough that the treadle rotates without strain.
Test the pedal movement again after tightening. Rock it back and forth several times. Listen carefully for any squeaking noises.
Once you confirm the treadle moves smoothly, reattach the back panel. Replace each screw carefully. Tighten them evenly so the casing sits flush against the body.
Power on your unit and test the expression pedal through its full range. Move it from heel to toe multiple times. The squeaking should be gone or significantly reduced.
If squeaking persists, loosen the bolt slightly and test again. Sometimes just a quarter turn makes the difference.
Tips for Effective and Long-Lasting Lubrication
Proper lubrication keeps your expression pedal quiet and smooth for years. The key is using the right approach and the right substance.
Choose the correct lubricant type. Grease works better than oil for this application. Oil runs off quickly and leaves the pivot joint dry again. Grease stays in place and provides lasting protection against friction.
Apply lubricant sparingly to avoid mess. A small amount goes a long way at the pivot joint. Use a butter knife or thin applicator to place grease directly into the gap around the pivot point. This precision prevents excess lubricant from dripping onto electronics or other components.
Target the spacers around the pivot. These small metal pieces sit between the treadle and pedal body. They create friction as the treadle rotates. Work grease into the gaps on both sides of the spacers. Make sure the lubricant reaches the actual contact points where squeaking starts.
Let the lubricant settle before reassembling. Give it a few minutes to work into the joint. This allows the grease to coat all friction surfaces properly.
Test movement during lubrication. Gently rock the treadle back and forth after applying grease. This helps distribute the lubricant evenly throughout the pivot area. You’ll feel resistance decrease as the grease settles in.
Reapply lubricant every six to twelve months. Regular maintenance prevents squeaking from returning. The pivot joint experiences constant friction during use, so periodic lubrication keeps everything functioning smoothly.
Avoid over-lubricating the area. Too much grease attracts dust and debris. These particles mix with lubricant and create grinding sounds instead of eliminating squeaks. Less is more when it comes to expression pedal maintenance.
Common Mistakes to Avoid When Fixing Squeaks
Over tightening the bolt is the biggest error people make. When you reassemble the pedal, you want snug pressure, not maximum force. A bolt that’s too tight actually increases friction at the pivot point and keeps the squeaking alive.
Many people apply lubricant to the wrong spots. The squeaking happens at specific friction points around the spacers. Putting grease on random areas wastes product and leaves the real problem untouched.
Insufficient lubrication coverage is another frequent problem. You need enough lubricant to reach into all the gaps around the pivot joint. A single small dab won’t do the job. The lubricant must coat the spacers and the metal surfaces where they meet.
Some users skip the loosening step entirely. They try to apply lubricant without loosening the bolt first. This prevents you from accessing the pivot area properly, and you’ll miss the spots that need treatment most.
Rushing the reassembly process causes issues too. After you apply lubricant, you must let it settle into the joint. Immediately tightening everything traps air pockets and reduces effectiveness.
Don’t disassemble the pivot joint itself. This is a critical mistake. You only need external access to apply lubricant. Taking apart internal components risks damaging small parts or losing spacers entirely.
Another error involves testing too soon. After reassembly, move the treadle gently several times before powering on your unit. This helps the lubricant distribute evenly and reveals if squeaking remains.
Finally, people often forget that lubrication needs maintenance. Reapply lubricant every six to twelve months to keep your expression pedal functioning smoothly and quietly.
Troubleshooting Persistent or Recurring Squeaking
Persistent squeaking often means the lubricant has dried out or wasn’t applied correctly the first time. This happens because friction returns when grease breaks down over time. You need to identify why the noise came back.
Start by checking if the bolt has loosened. Vibrations from regular use can cause it to shift slightly. Loosen it again using the same wrench you used before. Then reapply lubricant to the pivot joint on the left side underneath the treadle.
Sometimes squeaking returns because lubricant was applied to the wrong area. Focus only on the spacers around the pivot point. These small metal pieces sit between the treadle and the pedal body. Avoid putting grease on the treadle itself or on other mechanical parts.
Another reason for recurring squeaks is insufficient coverage. The first application might not have reached deep into the joint. Use a butter knife or small applicator to work lubricant into the gaps more thoroughly this time.
Test the pedal movement after applying lubricant. Move the treadle slowly from heel to toe several times. This helps distribute the grease evenly throughout the pivot area. Listen carefully for any remaining noise.
If squeaking persists even after relubrication, the pivot joint itself may have worn components. However, this is rare. Most cases resolve with proper lubrication and correct bolt tension.
Plan to reapply lubricant every six to twelve months. Regular maintenance prevents squeaking from returning. Mark your calendar as a reminder. This simple habit keeps your expression pedal quiet and responsive for years to come.
Final Thoughts
Fixing a squeaky expression treadle is a simple task. You don’t need special tools or expert skills. A little patience and the right grease can solve the problem quickly.
Most squeaking issues come down to friction at the pivot point. Once you understand this, the fix becomes clear. Remove the back panel, find the joint, and apply lubricant carefully.
Take your time during each step. Rushing leads to mistakes like over tightening bolts or missing the right spots. Slow, careful work gives better results every time.
Remember that your pedal is a mechanical device. Like any moving part, it needs occasional care. Think of lubrication as basic maintenance, similar to oiling a door hinge.
This fix works for many pedal brands, not just one model. The core idea stays the same across different units. Pivot joints need grease to move smoothly without noise.
If your first attempt doesn’t fully stop the squeak, don’t worry. Sometimes it takes a second try to get full coverage. Check your work and reapply lubricant if needed.
Keep this guide handy for future reference. Squeaking often returns after months of use. Knowing the fix already means you won’t need to search for help again.
A quiet pedal makes practice and performance more enjoyable. Nobody wants unwanted noise interrupting a good take or live show. This small fix protects your sound quality.
In the end, a few minutes of maintenance saves you frustration later. Your expression pedal will move smoothly and quietly. That means you can focus on your music, not mechanical noise.
Frequently Asked Questions
Why does my expression pedal squeak when I press it?
Squeaking happens because the treadle rotates on a pivot point. Over time, friction builds up at this joint. Metal parts rub together without enough lubrication. This creates that annoying squeaking sound you hear during use.
Where exactly should I apply lubricant?
Focus on the left side pivot joint underneath the pedal. This is where the treadle rotates. You’ll find spacers around this area. Apply grease directly to these spacers and the joint itself. Use a butter knife to reach tight spots precisely.
Will loosening the bolt fix the squeak completely?
Loosening the bolt helps a little bit. It reduces some pressure on the pivot area. However, lubrication is the real solution. Loosening alone won’t stop the squeaking. You need both steps working together for best results.
How often should I reapply lubricant?
Plan to reapply grease every six to twelve months. Regular maintenance keeps your pedal quiet. Don’t wait until squeaking returns. Preventive lubrication works better than reactive fixes. Make it part of your gear care routine.
What if squeaking returns after I fix it?
The lubricant may have dried out. Check if the bolt has loosened again. Verify you applied grease to the correct pivot area. Sometimes insufficient coverage causes problems. Reapply lubricant using the same method. If squeaking persists, the pivot joint itself might have worn components that need replacement.

Hi, I’m Pearl Standen, the voice behind The Web Utility. I’m a passionate tech enthusiast who loves exploring the latest gadgets, smart devices, and electronics that make everyday life easier. Through my website, I share honest, well-researched reviews of trending Amazon products to help you make smarter buying decisions.