
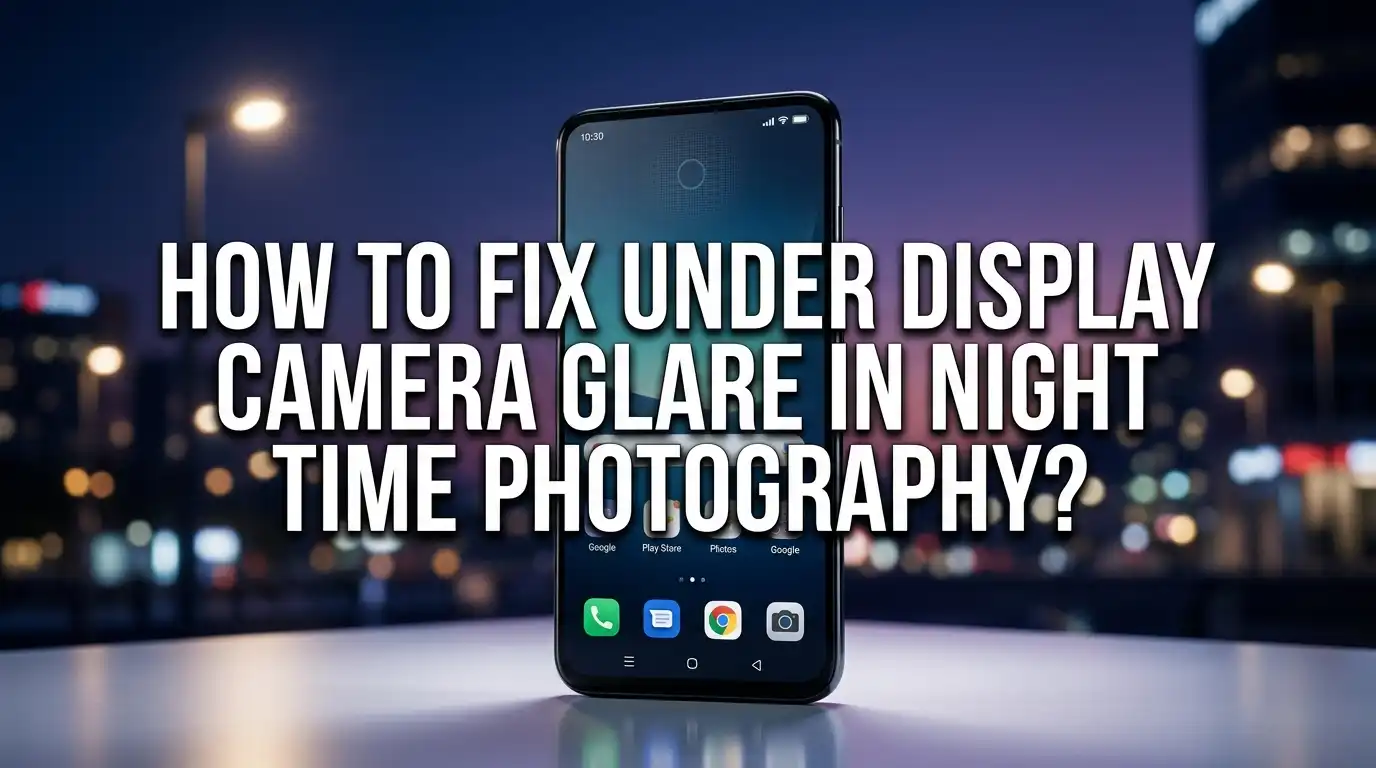
How To Fix Under Display Camera Glare In Night Time Photography?
Night photos should feel magical. Instead, your under display camera often turns city lights into messy streaks and soft halos.
You point your phone at a glowing sign, tap the shutter, and the result looks foggy. The bright spots bleed across the frame. This problem frustrates many foldable phone owners and early adopters of full screen displays.
The good news is simple. You can fix most of this glare without buying a new phone. This guide walks you through every cause and every solution.
Key Takeaways
- Glare comes from the screen, not just the lens. The display pixels sit above the camera. Light scatters as it passes through them. This creates flare, haze, and halos in your night photos.
- Software fixes matter the most. Phone makers use AI image restoration to clean up UDC shots. Keeping your phone updated gives you the latest and best correction tools.
- Your angle changes everything. Bright lights hitting the camera straight on cause the worst glare. Shifting your position by a few degrees removes much of it instantly.
- A clean screen is a clean photo. Fingerprints and smudges over the camera area scatter even more light. Wiping the display gently before shooting helps a lot.
- Manual or Pro mode beats auto mode at night. You can lower exposure, control ISO, and stop the camera from overreacting to bright points. Manual control reduces blown out glare.
- Editing apps rescue tough shots. When prevention fails, dehaze and clarity tools repair glare after the fact.
What Causes Under Display Camera Glare At Night
The under display camera, often called the UDC, sits beneath your phone screen. The display has tiny pixels right above the lens. At night, bright light sources pass through these pixels before reaching the sensor. This is where the trouble begins.
Light scatters when it travels through the display layers. The pixels and wiring act like a grid. This grid bends and spreads the incoming light. Engineers call this diffraction. It produces flare, haze, blur, and saturation in your images.
In daylight, your phone has plenty of light to work with. At night, the camera fights to capture every photon. Bright points like streetlamps overwhelm the sensor and spread across the frame. Understanding this helps you apply the right fix.
Clean The Display Above The Camera First
Your first step costs nothing. A dirty screen makes glare much worse. Fingerprints, oil, and dust over the camera area scatter light even more than the display itself. Many people skip this simple fix and wonder why their photos look foggy.
Use a soft microfiber cloth to wipe the display gently. Avoid paper towels or your shirt. These can scratch the surface or push grease around. Breathe lightly on the screen first if you have stubborn smudges.
The pros here are clear. This method is free, fast, and risk free. The cons are minor. Cleaning alone will not remove glare caused by the display structure itself. Still, this step removes a big chunk of avoidable haze. Make it a habit before every night shoot.
Adjust Your Shooting Angle To Reduce Flare
Angle is one of your strongest tools. Glare gets worse when bright light hits the camera straight on. A streetlamp directly in front of your lens will smear across the photo. A small change in position fixes this fast.
Move your body a few steps left or right. Tilt the phone slightly so the harsh light no longer points straight into the camera. Try shooting with the bright source at the edge of the frame instead of the center.
The pros of this method are strong. It is instant, free, and works on any phone. The cons are small. You may not always control where the lights sit. Sometimes the best composition still includes a bright spot. Even so, angle changes solve a surprising number of glare problems with zero effort.
Use Your Hand Or An Object As A Shade
Photographers have used this trick for decades. You can block stray light before it reaches the camera. Stray light is the main reason flare spreads across your night shots. Stopping it at the source removes the glare entirely in many cases.
Cup your free hand above the phone to shade the camera. Make sure your hand stays out of the frame. You can also use a wall, a pole, or a tree to hide the camera from a harsh light source nearby.
This method works wonders. The pros include full control and zero cost. The cons are practical. You need a free hand, and it takes a little practice. Some lights sit inside your composition and cannot be blocked. Still, shading is one of the most reliable glare fixes available to anyone.
Switch To Night Mode The Right Way
Modern phones include a dedicated Night Mode. This feature stacks several frames together to brighten dark scenes. It can both help and hurt your glare problem, so you must use it carefully.
Hold the phone steady while Night Mode captures the shot. A tripod or a stable surface helps a lot. Movement during the long capture spreads light streaks and blurs bright points. Steady hands give cleaner halos.
The pros of Night Mode are real. It brightens shadows and boosts detail in dark areas. The cons matter too. Long exposures can amplify glare from very bright lights. The software sometimes overcorrects and creates new halos. Test both with and without Night Mode in the same scene. Then keep the version that looks best.
Lower Your Exposure To Tame Bright Lights
This single setting fixes more night glare than almost anything else. Bright lights blow out and spread when exposure runs too high. Your camera tries to brighten the whole scene. In doing so, it pushes the bright points past their limit and they bleed everywhere.
Tap the bright part of the screen, then drag the brightness slider down. On most phones a small sun icon appears next to your focus box. Pulling it down darkens the shot and keeps lights crisp.
The pros are excellent. This method gives you direct control and instant feedback. You see the change before you shoot. The cons are minor. Lowering exposure also darkens shadows, so you lose some detail in dim areas. For glare heavy scenes, this trade is almost always worth it.
Use Pro Or Manual Mode For Full Control
When auto mode keeps failing, switch to Pro Mode. This mode hands you control over ISO, shutter speed, and focus. It feels harder at first, but it solves glare that auto mode cannot.
Lower the ISO to reduce noise and harsh light spread. Set a moderate shutter speed so bright points do not overexpose. Adjust the white balance so the lights look natural rather than glowing.
The pros are clear. Manual control stops the camera from overreacting to bright spots. You decide exactly how the lights appear. The cons are real too. Pro Mode takes time to learn, and it is slower to shoot with. Not every phone offers it for the front facing UDC. Still, it gives the cleanest results in tricky night scenes.
Keep Your Phone Software Fully Updated
Here is a fix many people forget. Phone makers improve UDC image quality through software. The camera relies on AI image restoration to clean up the scatter from the display. These algorithms get better with each update.
Open your settings and check for system and camera updates often. Samsung and other brands push improvements that reduce flare, haze, and saturation in UDC shots. Newer models even process these corrections in real time.
The pros are strong. Updates are free and improve results across every photo you take. The cons are limited. Software cannot fully erase glare baked into the display design. Old phones may stop getting updates over time. Even so, staying current is one of the easiest ways to keep your night photos sharp.
Try A Third Party Camera App
Your built in camera is not your only option. Third party apps often handle light better. Some apps use different processing engines that control highlights and reduce flare more gently than the stock camera.
Download a trusted manual camera app and test it at night. Look for apps that offer RAW capture, exposure locks, and highlight controls. Compare the results side by side with your default camera.
The pros include more control and fresh processing options. Some apps reveal detail your stock camera hides. The cons deserve attention. Not every app supports the front facing UDC. Some apps cannot access the special restoration features built into your phone. Test carefully before you rely on one. The right app can make a real difference for stubborn glare.
Edit Out Glare With Photo Apps
Sometimes prevention fails and the glare lands in your shot anyway. You can repair night glare during editing. Modern photo apps include powerful tools that reduce haze and recover detail around bright lights.
Use the dehaze, clarity, and highlights sliders to clean the image. Pull the highlights down to recover blown out lights. Add dehaze to cut the foggy glow. Boost clarity gently to bring back sharp edges.
The pros are useful. Editing rescues photos you cannot reshoot and works on any image. The cons are honest. Heavy editing can look unnatural and add noise. It cannot rebuild detail that the glare destroyed completely. Use a light touch. Editing works best as a finishing step, not a full repair for badly flared shots.
Stabilize Your Shot To Prevent Light Streaks
Camera shake makes glare look much worse. A shaky hand turns bright points into long streaks. During night shots, your camera holds the shutter open longer. Any movement smears the light across the frame and ruins the photo.
Rest your phone on a stable surface or use a small tripod. Lean against a wall if you have nothing else. Use the timer or a voice command so you do not shake the phone when you tap the shutter.
The pros are simple. Stability gives you sharper lights and cleaner halos every time. The cons are small. A tripod adds gear to carry, and stable surfaces are not always nearby. Even resting your elbows on a railing helps. Steady shots are the foundation of good night photography.
Avoid Pointing Directly At Bright Light Sources
This is more about composition than settings. Direct light sources cause the most extreme glare. When a bright lamp or sign sits dead center in your frame, the UDC scatter peaks. The light overwhelms the sensor and spreads in every direction.
Compose your shot so bright lights sit off to the side. Place them behind a subject, or let them peek through the frame rather than dominate it. Use buildings, trees, or people to break up harsh points of light.
The pros are creative and practical. This approach improves your composition while reducing glare. The cons are limited. You cannot always avoid bright lights in a busy night scene. Sometimes the light is your subject. When that happens, lean on your other fixes like lower exposure and shading.
When To Accept The Limits Of UDC Hardware
Honesty matters here. Some glare comes from the display design and cannot fully disappear. The pixels above the camera will always scatter a little light. Even the best phones still show some flare in extreme night scenes.
Know that the UDC trades a small amount of image quality for a full screen. This is the deal you accept with this technology. If pristine night selfies matter most to you, a traditional punch hole camera performs better in tough light.
The pros of accepting this are mental. You stop chasing perfection and start working with what you have. The cons are obvious. You cannot fully fix a hardware limit through tricks alone. Combine every method in this guide. Together they get you remarkably close to clean, sharp night photos.
Frequently Asked Questions
Why does my under display camera show glare only at night?
At night, your camera works with very little light. Bright sources like lamps and signs overwhelm the sensor. The light scatters through the display pixels above the camera. This scatter, called diffraction, creates the flare and haze you see in dark scenes.
Can a screen protector make UDC glare worse?
Yes, it can. A low quality or dirty screen protector adds another layer for light to pass through. This increases scatter over the camera area. Use a clean, high quality protector, and keep the camera region spotless to reduce extra glare.
Does Night Mode fix or cause glare?
Night Mode does both. It brightens dark areas and adds detail by stacking frames. Yet long exposures can amplify glare from very bright lights. Test your shot with and without Night Mode. Then keep whichever version looks cleaner for that scene.
Will a software update really improve my night photos?
Often, yes. Phone makers improve UDC image quality through AI restoration that runs in software. Updates refine how the camera handles flare, haze, and saturation. Keeping your system and camera app current is a free way to get sharper night results.
Can editing apps fully remove glare after the photo is taken?
Editing helps but has limits. Dehaze, highlights, and clarity tools reduce glare and recover some detail. However, they cannot rebuild detail that glare destroyed completely. Use editing as a light finishing touch rather than a full repair for badly flared shots.
Is the under display camera worth it despite the glare?
It depends on what you value. The UDC gives you a clean, full screen with no notch or hole. The trade is some loss of image quality in hard light. If a seamless display matters most to you, the small glare cost is usually worth it.

Hi, I’m Pearl Standen, the voice behind The Web Utility. I’m a passionate tech enthusiast who loves exploring the latest gadgets, smart devices, and electronics that make everyday life easier. Through my website, I share honest, well-researched reviews of trending Amazon products to help you make smarter buying decisions.