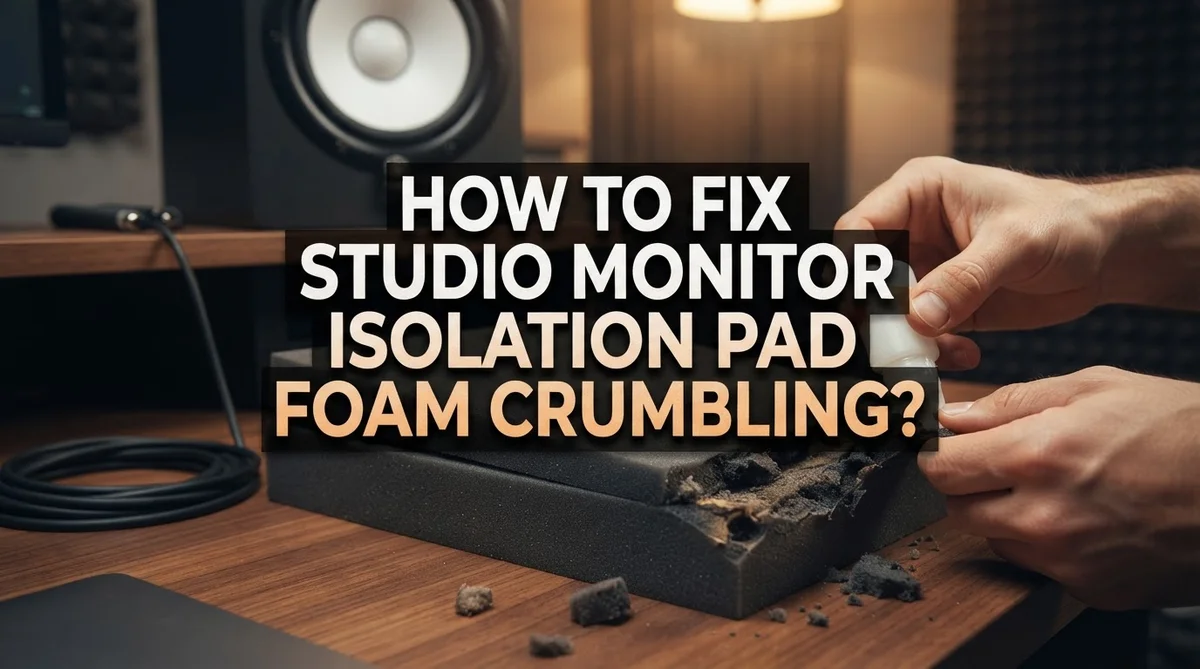
How To Fix Studio Monitor Isolation Pad Foam Crumbling?
Your studio monitor sits on a soft, crumbly mess. That foam pad you trusted for months has turned into dust and flakes. It sticks to your desk and your speaker base like glue.
This is a common problem for home studio owners. Foam isolation pads break down over time. Heat, weight, and daily use wear them out faster than you might expect.
The good news? You do not need to panic or buy expensive gear right away. Foam crumbling has simple fixes that work for almost any budget.
In a Nutshell
- Foam breaks down over time. Heat, age, and weight cause isolation pads to crumble. This is normal wear, not a sign you did something wrong.
- Replace old foam fast. Crumbling pads lose their ability to absorb vibrations. Swap them out to protect your sound quality.
- DIY fixes work well. You can cut one pad into strips or stack a few mousepads. This gives your speakers fresh support without much cost.
- Solid surfaces help too. Placing monitors on concrete blocks or thick platforms reduces the need for constant pad replacement.
- Avoid thin or weak padding. Using flimsy material leads to faster breakdown and poor isolation. Choose thicker, denser options instead.
- Check pads regularly. Look for cracks, dust, or flattening. Catching damage early saves you from bigger sound problems later.
Why Isolation Pad Foam Crumbles Over Time
Isolation pad foam crumbles because of three main culprits: heat, age, and weight pressure.
Heat breaks down foam materials. Your studio monitor generates warmth during use. This heat sits directly on the foam pad beneath it. Over months and years, constant heat exposure causes the foam’s chemical structure to weaken. The material becomes brittle and loses its original density.
Age naturally degrades foam quality. Foam is not permanent. Even high quality isolation pads have a lifespan. Manufacturers design these pads to last several years under normal conditions. After that time, the material simply deteriorates. Dust particles accumulate inside the foam. Air pockets collapse. The foam loses its cushioning ability.
Weight pressure flattens the material. Your monitor pushes down on the pad every single day. This constant downward force compresses the foam. Over time, the foam cannot spring back to its original shape. The compressed areas become weak spots. These weak spots crack and crumble more easily than the rest of the pad.
Environmental factors speed up breakdown. Humidity in your studio affects foam longevity. Moisture can seep into the material and cause deterioration. Temperature swings also matter. When your room gets hot and cold repeatedly, the foam expands and contracts. This cycling weakens the internal structure.
Poor quality pads fail faster. Cheaper foam materials break down quicker than better options. Thin pads compress more easily under speaker weight. Inadequate materials cannot handle the combination of heat, pressure, and time.
The crumbling you see is the final stage. By that point, your isolation pads have already lost most of their vibration absorption ability. Your monitors are no longer properly isolated from your desk or stand.
Signs Your Foam Pads Need Attention
Your isolation pads send you warning signs before they completely fail. Learning to spot these signs helps you act before your studio sound suffers.
Visible crumbling and dust is the most obvious indicator. You will notice small foam particles around your monitor base or on your desk surface. This dust means the foam structure is breaking apart. The pad no longer provides proper support or vibration isolation.
Flattened or compressed areas show up next. Press gently on your pad with your finger. If it does not bounce back, the foam has lost its cushioning ability. A healthy pad springs back immediately. A worn pad stays compressed.
Cracks and splits in the foam surface mean replacement time is near. These breaks allow vibrations to pass through without resistance. Your monitors will sit unevenly on damaged pads, causing audio problems.
Discoloration or dark spots often indicate moisture damage or mold growth. This happens in humid studios. The foam absorbs water and deteriorates faster. Dark spots mean the material is compromised inside and outside.
Your monitor feels unstable when you touch it. A wobbly speaker tells you the pad underneath has degraded. This instability creates micro vibrations that muddy your mix.
Audio quality changes can signal pad problems too. If your bass sounds boomy or your mids seem unclear, worn pads might be the culprit. Bad isolation lets vibrations travel into your desk, coloring your sound.
Check your pads monthly. Look underneath your monitors with a flashlight. Feel the foam texture. Run your hand across the surface. Early detection saves you time and money. Replace pads as soon as you notice these signs to maintain clean, accurate monitoring.
Step-by-Step: Removing and Replacing Crumbling Foam Pads
Removing old crumbling foam takes just a few minutes. Start by turning off your studio monitor and unplugging the power cable. Safety comes first when working with electrical equipment.
Gently lift your monitor off the isolation pad. Work slowly and carefully to avoid dropping it. Set the monitor on a clean, flat surface away from your work area.
Now examine the old pad underneath. You will see crumbled pieces, dust, and degraded foam material. Use a dry cloth or soft brush to wipe away loose debris from the bottom of your monitor. This prevents particles from falling into vents or damaging the speaker.
Peel away the old isolation pad from the desk or surface. If the foam sticks, use a plastic scraper or old credit card to lift the edges gently. Avoid metal tools that might scratch your desk. Remove any remaining adhesive residue with a cloth.
Clean the mounting surface completely. Dust and old adhesive prevent new pads from sitting flat. A damp cloth works well for this step. Let the surface dry fully before proceeding.
For replacement, you have two main options. You can purchase new commercial isolation pads designed for studio monitors. Alternatively, you can cut a single pad into strips or stack several mousepads for a DIY solution.
Position your new pads where the monitor will rest. Most monitors need support at the four corners or along the bottom edges. Make sure the pads sit flat with no gaps or wrinkles.
Place your monitor back on the new pads. Press down gently to ensure good contact. Plug in your monitor and power it on. Your speaker should now sit on a stable, vibration absorbing foundation that will last much longer than the crumbled foam you removed.
DIY Isolation Pad Alternatives Using Household Materials
You can use everyday items from your home to replace damaged isolation pads. This approach works well for budget conscious studio owners and gives your crumbling foam a second life.
Stacked mousepads are your best DIY option. Take three standard computer mousepads and stack them under each monitor. The rubber base grips your desk surface while the foam layers absorb vibrations. This combination mimics commercial pad performance at a fraction of the cost. Make sure all three pads align properly under the monitor’s footprint.
Rubber shelf liners work surprisingly well for isolation. These non slip mats sit under kitchen shelves and provide decent vibration dampening. Cut them to fit your monitor’s base size. Stack two or three layers for better results. The rubber material resists compression better than foam does.
Cork coasters or cork tiles offer natural vibration control. Cork has inherent isolation properties and resists crumbling over time. Arrange multiple coasters in a grid pattern under each speaker. This creates a stable platform that handles monitor weight effectively.
Yoga mat pieces provide thick cushioning material. Cut small sections from an old yoga mat and layer them under your monitors. The dense foam holds up well under pressure and won’t degrade as quickly as cheap isolation pads.
Rubber furniture pads designed for protecting floors work nicely too. Stack several pads to reach adequate thickness. These pads grip both your monitor and desk surface securely.
The key is using materials that resist compression and moisture. Avoid thin fabrics or materials that absorb water easily. Test your setup by gently pressing on the monitor. It should feel stable with minimal movement. Check these DIY pads every two months and replace them when they flatten or show wear signs.
Proper Placement Techniques for Maximum Isolation
Proper placement makes a huge difference in how well your isolation pads work. Start by putting your monitors on a solid, level surface. An uneven desk causes pads to compress unevenly and fail faster.
Position your speakers so they sit completely on the isolation material. If part of the monitor base hangs off the pad, vibrations leak directly into your desk. This defeats the entire purpose of using isolation pads in the first place.
Keep your monitors away from the desk edges. Placing them near corners or edges means vibrations travel through the furniture structure more easily. Move them toward the center of your work surface whenever possible.
Height matters too. Your monitor ears should be at or slightly above your eye level when you sit down. Proper positioning reduces neck strain and lets sound travel directly to your ears without bouncing off surfaces first.
Make sure nothing touches your monitors except the isolation pads. Cables, stands, or other objects that contact both your speaker and desk create vibration bridges. Route all cables away from the mounting area using clips or organizers.
Leave space around each monitor. Air needs to circulate behind and beside your speakers. Cramped placement traps sound reflections and makes isolation less effective.
Check that your pads stay dry and clean. Moisture seeps into foam and speeds up deterioration. Dust buildup also reduces pad performance over time.
Test your setup by gently touching your desk while music plays. You should feel minimal vibration transfer. If you feel strong vibrations, reposition your monitors or add extra isolation material underneath. Proper placement combined with quality pads gives you the best isolation performance for your studio.
Mistakes That Accelerate Foam Degradation
Your isolation pad foam breaks down faster when you make certain common errors. Understanding these mistakes helps you protect your investment and keep your studio sounding clean.
Moisture exposure is the biggest culprit. Foam absorbs water like a sponge. When humidity builds up in your studio or you spill liquid near your monitors, the foam soaks it up. This moisture causes the material to soften, compress, and eventually crumble. Keep your studio dry and wipe up spills immediately.
Excessive weight on the pads speeds up degradation too. Stacking heavy objects on your monitors or leaning on them puts pressure on the foam. This constant compression breaks down the material’s structure. Your monitors should sit gently on the pads, not get pressed into them.
Direct sunlight and heat damage foam quickly. UV rays break down the material’s chemical bonds. Heat causes expansion and contraction, creating cracks. Position your monitors away from windows and heat sources like radiators or vents.
Using wrong materials underneath matters more than you think. Placing foam pads on dirty, oily, or textured surfaces prevents proper contact. Dust and debris get trapped, accelerating breakdown. Always clean your mounting surface before installing new pads.
Poor ventilation around your monitors creates moisture pockets. Foam needs air circulation to stay healthy. Leave space around each monitor so air flows freely.
Cheap or thin foam materials fail faster than quality alternatives. Thin pads compress quickly under speaker weight. They offer less protection against moisture and temperature changes.
Avoid these mistakes and your isolation pads will last much longer. Your studio monitors will stay stable and your audio will stay clean.
Troubleshooting Persistent Vibration and Noise Issues
When your isolation pad foam crumbles, vibrations and noise problems return quickly. Your studio monitors sit directly on the desk surface again, causing sound reflections and unwanted vibration transfer to your workspace.
Persistent vibration issues show up as a buzzing or rumbling sound during playback. You might notice your desk vibrates when the bass hits hard. This happens because the degraded foam no longer absorbs shock between your monitor and the surface below.
The first step is testing your current situation. Play some bass heavy music and place your hand on the desk near your monitors. If you feel strong vibrations, your isolation pads have definitely failed.
Noise problems become obvious when you hear rattling sounds that weren’t there before. Sometimes you’ll notice your monitors sound muddier or less clear than they should. This occurs because vibrations travel up through the desk and back into your speakers.
Check if the foam has turned to dust or broken into small pieces. This is a clear sign the material has lost its ability to isolate. The pads should feel firm and springy, not mushy or crumbly.
Replace the pads as soon as you notice these issues. Waiting longer means your monitors work harder to produce clean sound. Your ears will tire faster, and your mixes may suffer.
The good news is that fixing this problem is straightforward. You have multiple replacement options available. Whether you choose new commercial pads or DIY alternatives, restoring proper isolation will immediately improve your monitoring experience and reduce unwanted noise in your studio.
Maintaining Your Isolation Pads for Long-Term Performance
Your isolation pads need regular care to stay effective. Check your pads monthly for signs of wear or crumbling. Look for dust, discoloration, or soft spots that feel mushy. These warning signs mean your foam is breaking down.
Clean your pads every few months with a dry cloth. Remove dust gently to prevent pushing debris deeper into the foam. Never use water or cleaning solutions on foam pads. Moisture speeds up deterioration and reduces isolation performance.
Store your studio properly to protect your isolation pads. Keep humidity levels between 30 and 50 percent in your room. Use a dehumidifier if your space feels damp. High moisture causes foam to break down faster than anything else.
Avoid stacking heavy items on your monitors. Extra weight compresses the foam and causes permanent damage. Your speakers should sit lightly on the pads. The pads work best when they can move slightly.
Position your monitors away from direct sunlight and heat sources. UV rays and warmth degrade foam quickly. Keep your speakers at least two feet away from windows and radiators.
Rotate your pads occasionally to distribute wear evenly. If you notice one pad wearing faster, switch monitor positions. This extends the life of all your pads.
Check the surface under your pads too. Make sure nothing sharp or rough sits beneath them. Rough surfaces can puncture foam from underneath. Replace pads before they completely crumble. Waiting too long lets vibrations damage your desk and affects your monitoring accuracy.
Final Thoughts
Foam crumbling is a common problem, but it’s easy to fix. Replacing worn isolation pads takes only a few minutes and instantly improves your sound quality.
You now know why foam breaks down and how to spot the warning signs early. This knowledge helps you act before vibration issues ruin your recordings.
Regular maintenance makes a huge difference in how long your pads last. Simple habits like keeping pads dry and checking them monthly save you time and money.
Remember that both commercial pads and DIY solutions work well. Choose whichever fits your budget and studio setup best.
The key is consistency. Check your isolation pads often, and replace them the moment you notice crumbling or dust.
Your studio monitors deserve proper support. Without good isolation, even the best speakers sound muddy or unclear.
Vibration control affects every recording you make. Clean, accurate sound starts with a stable foundation under your monitors.
Don’t wait until problems become obvious. Small cracks or minor crumbling today can turn into bigger issues tomorrow.
Take a few minutes this week to inspect your current setup. Look closely at your pads and note any changes in texture or shape.
If you spot problems, fix them right away. Your ears and your recordings will thank you.
Building good habits now saves frustration later. A little attention each month keeps your studio running smoothly for years.
Great sound starts with the basics. Solid isolation pads are one of the simplest ways to protect your investment and improve every mix you create.
Stay proactive, stay consistent, and your studio monitors will perform at their best for a long time.
Frequently Asked Questions
Why does isolation pad foam crumble in the first place?
Isolation pad foam breaks down over time due to age, heat exposure, and pressure from your speakers. The foam material degrades naturally as it sits under constant weight. UV light and temperature changes speed up this process. Moisture in your studio environment can also weaken the foam structure. Most foam pads last between 3 to 5 years before showing signs of wear.
Can I use DIY materials instead of buying new pads?
Yes, DIY alternatives work for isolation. You can stack multiple mousepads under each speaker to create a cushioning effect. Another option is cutting a single isolation pad into strips and layering them. These solutions provide decent vibration reduction without spending much money. However, commercial pads offer better performance and durability than DIY options. Choose based on your budget and how critical your studio work is.
How do I know if my isolation pads need replacement?
Check your pads by pressing on them with your fingers. If they feel soft or mushy, replacement time has arrived. Look for visible crumbling, dust, or pieces breaking off. Listen for increased vibrations or buzzing sounds during playback. These signs mean your pads no longer protect your monitors effectively.
Should I replace all pads at once or one at a time?
Replace all pads at the same time for consistent results. Using old pads under one speaker and new pads under another creates uneven isolation. This imbalance affects your monitor’s stability and sound accuracy. Replacing them together ensures both speakers sit at the same height and angle.
What surface should I place my pads on?
Place pads on solid, level surfaces like desks or concrete blocks. Avoid soft surfaces like carpet or cushions. A hard foundation lets the pads work properly by creating a firm barrier between your speaker and the floor or desk.

Hi, I’m Pearl Standen, the voice behind The Web Utility. I’m a passionate tech enthusiast who loves exploring the latest gadgets, smart devices, and electronics that make everyday life easier. Through my website, I share honest, well-researched reviews of trending Amazon products to help you make smarter buying decisions.