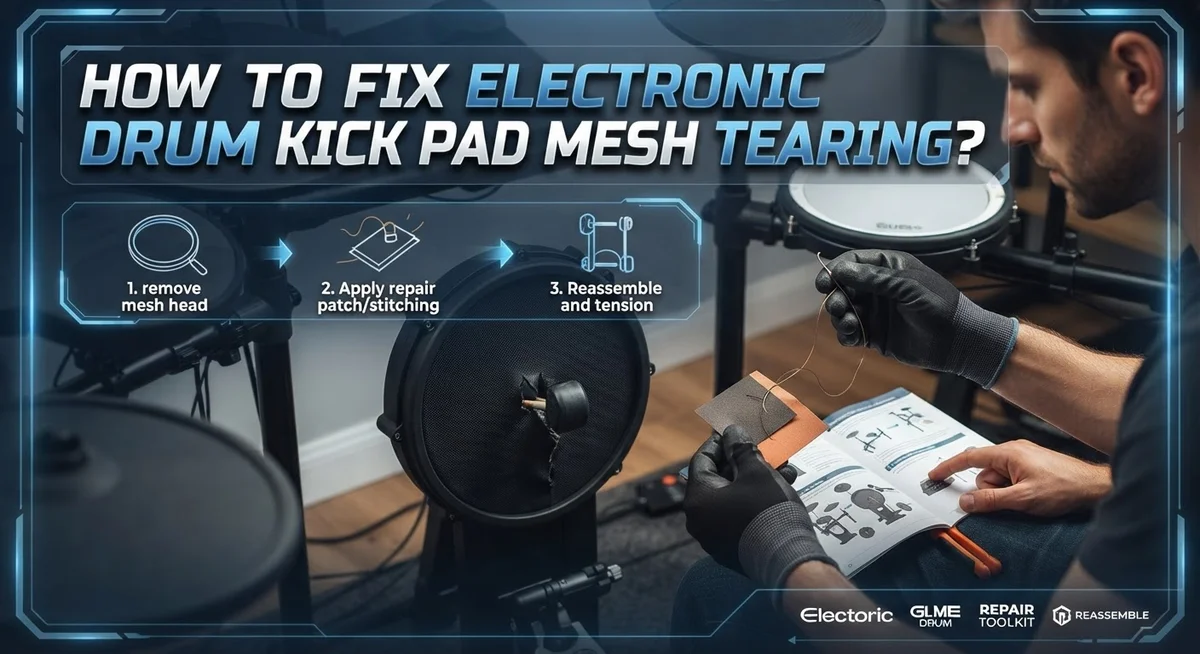
How To Fix Electronic Drum Kick Pad Mesh Tearing?
Your electronic drum kick pad works hard every time you play. But sometimes, that mesh head starts to tear. This can turn your practice session into a frustrating mess.
Mesh tearing is a common problem for drummers. The good news? You can fix it yourself at home. You don’t need to be an expert to get your kick pad working again.
This article walks you through everything you need to know. We cover why mesh tears happen in the first place. Most of the time, it comes down to using the wrong beater or poor technique.
In a Nutshell
- Felt beaters cause most tears. They grip mesh like Velcro and shred it over time. Always switch to a plastic-side beater for safe play.
- Full replacement works best. Patches cannot fix torn mesh properly. You need to swap in a new pad for a lasting fix.
- The repair process is simple. Remove the lugs, detach the pad from its plastic backing, and peel away the old mesh. Then install the replacement and reassemble everything in reverse.
- Watch for the sponge pad. It often sits pressed under the head during removal. Don’t lose or ignore it during the swap.
- Technique matters just as much as gear. Hitting too hard or striking in one concentrated spot speeds up damage. Keep your strokes even and controlled.
- Re-tension your mesh regularly. This keeps rebound feel consistent and reduces stress on the fabric.
Why Electronic Drum Kick Pad Mesh Tears
Electronic drum kick pad mesh tears happen for specific reasons. Understanding why your mesh fails helps you prevent future damage and fix problems faster.
Beater type is the biggest culprit. Felt beaters act like Velcro against mesh fabric. The felt grips and pulls at the mesh fibers with every strike. Over time, this friction shreds the material. Plastic beaters glide smoothly across mesh without catching or tearing. This is why beater choice matters so much for pad longevity.
Impact force and technique play major roles too. Striking with excessive power concentrates damage in one small area. Your mesh weakens when you hit the same spot repeatedly with heavy force. Drummers who use poor technique often see tears develop faster than those with controlled, even strikes.
Mesh tension affects durability as well. Loose mesh cannot rebound properly. When your mesh sags, it absorbs impact poorly. This causes stress on the fabric fibers. Tight, properly tensioned mesh distributes force evenly across the entire surface. Regular re-tensioning keeps your mesh healthy and responsive.
Age and wear accumulate over time. Mesh is not permanent. Every strike breaks down the material slightly. After months or years of playing, the fabric simply wears out. This is normal wear and tear, not a defect.
Environmental factors matter too. Humidity and temperature changes affect mesh tension. Extreme heat can dry out the material. High humidity can weaken the fibers. Storing your drum kit in stable conditions helps preserve mesh life.
Improper removal and installation can also damage mesh. Forcing the pad off the plastic backing tears the material. Rough handling during repair introduces new tears. Careful, gentle removal prevents accidental damage during maintenance.
Tools and Materials Needed for the Repair
Before you start fixing your torn mesh pad, gather the right tools and materials. Having everything ready makes the repair faster and prevents damage during the process.
Removal Tools are essential for taking apart your drum pad safely. You will need a screwdriver set with both Phillips and flat head options. Most electronic drum pads use standard screws to hold lugs in place. A small wrench or socket set helps if your kit uses bolts instead of screws. Keep these tools organized so you don’t lose small hardware pieces during disassembly.
Protective Gear keeps you safe while working. Wear work gloves to protect your hands from sharp mesh edges and metal parts. Safety glasses shield your eyes from debris that might fly up during removal. A dust mask prevents you from breathing in old mesh fibers and accumulated dust inside the pad.
Replacement Materials form the core of your repair. You will need a replacement mesh head designed for your specific drum pad model. Check your pad’s manual or manufacturer website to find the exact size and type you need. Some pads use standard mesh sheets while others require custom fitted heads.
Adhesive and Backing Materials secure the new mesh properly. Contact cement or pad adhesive bonds the new mesh to the plastic backing. Have a clean cloth and rubbing alcohol ready to remove old adhesive residue from the backing plate. This cleaning step ensures the new mesh adheres smoothly without wrinkles or air bubbles.
Optional Extras make the job easier. A heat gun gently warms adhesive and helps peel old mesh away without damaging the backing. A roller tool presses the new mesh flat and removes air pockets. A small flashlight lets you see inside the pad during removal and installation.
Gathering these items beforehand means you can focus on the actual repair work without interruptions.
Step-by-Step Guide to Replacing Torn Mesh
Start by removing the lugs that hold your kick pad to the drum frame. Use an appropriate wrench or socket to unscrew these fasteners. Keep them in a safe place so you don’t lose them during the repair.
Next, carefully detach the entire pad assembly from the plastic backing. You’ll notice the mesh head is glued to this backing. Work slowly here to avoid damaging the backing itself, as you’ll reuse it.
Now comes the delicate part: peeling away the old torn mesh. Start from one corner and lift gently. The mesh should separate from the backing, though some adhesive residue will remain. Don’t rush this step.
Clean the plastic backing thoroughly. Remove all old adhesive and debris using a plastic scraper or old credit card. A clean surface ensures your new mesh adheres properly and performs well.
Before installing the replacement mesh, check that your backing is completely dry. Any moisture will prevent proper bonding. Wipe it down with a dry cloth if needed.
Position the new mesh on the backing carefully. Make sure it sits flat with no wrinkles or air bubbles. Press down firmly from the center outward to secure the adhesive bond.
Allow adequate time for the adhesive to cure. Most adhesives need several hours, though some dry faster. Check the specific product instructions for timing.
Once the adhesive sets completely, reattach the pad assembly to your drum frame. Line up the lugs and tighten the fasteners securely. Don’t over tighten, as this can stress the new mesh.
Test your kick pad gently before playing normally. Strike it with light to medium force to ensure everything feels right. The mesh should respond with proper rebound and no unusual sounds.
Your repair is complete when the pad feels responsive and sounds normal. The new mesh should last significantly longer if you use the correct beater type and maintain proper striking technique going forward.
Choosing the Right Beater to Prevent Future Tears
Using the right beater makes a huge difference in protecting your mesh pad from future damage. The material of your beater directly impacts how long your mesh will last.
Plastic beaters are your best choice for mesh pads. They glide smoothly across the surface without grabbing or pulling at the fabric. The smooth plastic contact allows your mesh to move naturally with each strike. Your pad will rebound properly and maintain its integrity over time.
Felt beaters are the main enemy of mesh pads. Felt acts like Velcro against mesh fabric, creating friction that shreds the material with every hit. Even light playing with a felt beater causes gradual damage that adds up quickly. If you currently use felt beaters, switching to plastic ones will immediately reduce wear on your new mesh.
Check your current beater before you play again. Look at the striking surface carefully. If it feels fuzzy or soft, it’s likely felt. If it feels hard and smooth, you have a plastic beater already. Some beaters have mixed materials, so inspect the part that actually contacts your pad.
Consider the thickness and weight of your plastic beater too. A lighter beater reduces impact stress on the mesh while still producing good sound. Heavy beaters concentrate force into a smaller area, which increases tearing risk even with plastic material.
Replace your beater if it shows signs of wear like cracks, chunks missing, or hardened spots. A damaged beater strikes unevenly and can create concentrated impact points on your mesh. New beaters cost far less than replacing your entire pad.
Proper beater selection is preventive maintenance. Once you switch to the right plastic beater and maintain good striking technique, your mesh pad will last significantly longer. You’ll avoid expensive replacements and keep your electronic drums sounding great.
Proper Technique and Tension for Long-Lasting Mesh
Proper technique starts with how you strike the pad. Hit the center of the mesh consistently rather than the edges or corners. Edge strikes concentrate force in a small area and cause localized tearing. Aim for the middle of the pad every time you play.
Your beater angle matters too. Keep your beater perpendicular to the mesh surface. Striking at sharp angles creates friction that shreds the material. A straight, perpendicular approach lets the beater bounce cleanly off the surface.
Control your impact force carefully. You don’t need to pound the kick pad hard to get a good sound. Electronic pads respond well to moderate strikes. Heavy, aggressive hitting accelerates mesh wear and creates tears faster than anything else.
Tension on the mesh affects how it handles impact. A properly tensioned mesh has better rebound and absorbs strikes more effectively. Check your pad’s tension regularly by pressing gently on the surface. It should feel slightly firm with a small amount of give. Loose mesh tears more easily under repeated strikes.
Let your beater do the work instead of forcing it. A bouncy, responsive pad means your beater returns quickly between strikes. This reduces the chance of the beater dragging across the mesh. Dragging motion creates friction that damages the surface over time.
Warm up gradually before intense playing sessions. Start with light strikes and build up intensity slowly. This gives the mesh time to adjust and prevents sudden stress on the material.
Practice consistent striking patterns. Random, uncontrolled strikes across different areas of the pad create unpredictable wear patterns. When you develop consistent technique, wear distributes evenly across the surface instead of concentrating in one spot.
Combine these techniques with a plastic beater and regular tension checks. This approach keeps your mesh pads lasting much longer and prevents premature tearing.
Common Mistakes That Lead to Repeated Tearing
The biggest mistake drummers make is using the wrong beater type. Felt beaters act like Velcro on mesh surfaces. They catch and shred the material with every strike, creating tears that spread quickly.
Many players don’t realize their beater choice matters until damage appears. By then, the mesh pad needs replacement. Switching to a plastic beater prevents most tearing issues from happening in the first place.
Poor striking technique causes concentrated damage in one spot. When you hit the same area repeatedly with excessive force, the mesh weakens and tears. Your pad should absorb impact evenly across the surface, not take repeated punishment in a small zone.
Ignoring tension maintenance leads to repeated problems. Loose mesh doesn’t rebound properly. It sits flat against the backing, making it vulnerable to tearing. Check your mesh tension regularly. A properly tensioned pad bounces back after each strike and lasts much longer.
Drummers often forget about sponge pads underneath the mesh head. During removal, these sponges sometimes get pressed into the mesh backing. When you reinstall without cleaning them away, the mesh sits unevenly. This creates stress points that tear easily.
Another common error is playing immediately after repair. Your adhesive needs full curing time before the pad handles impacts. Playing too soon weakens the bond between mesh and backing, causing premature separation and tearing.
Some players patch small tears instead of replacing the entire pad. Patches don’t hold well on mesh. Tears spread around the patch edges, making the problem worse. Full replacement is the only reliable fix.
Finally, many drummers don’t inspect their equipment regularly. Small tears get worse quickly if ignored. Catching damage early and addressing the root cause prevents repeated tearing cycles. Regular maintenance saves money and frustration.
Troubleshooting Persistent Mesh Issues
When your mesh continues to tear even after repair, something deeper is causing the problem. Let’s identify what’s actually happening so you can stop the cycle.
The most common culprit is still your beater choice. If you’re using a felt beater, the mesh will keep shredding no matter how many times you replace it. Felt grabs the mesh fibers like Velcro and pulls them apart with each strike. Switch to a plastic beater immediately and you’ll likely solve the issue right away.
Your striking technique might also be the villain here. When you hit the same spot repeatedly or strike at an extreme angle, you concentrate all the force in one small area. This creates weak points that tear easily. Try varying your strike location across the pad and keep your beater perpendicular to the surface.
Tension problems cause persistent tearing too. Loose mesh doesn’t rebound properly after impact. This means the fibers stay compressed longer and break down faster. Check your tension regularly using a drum key. The mesh should feel firm but not rock hard. If it feels spongy or moves too much, tighten the lugs evenly.
Don’t ignore the sponge pad underneath your mesh head. Sometimes this backing gets compressed or damaged, which affects how the mesh absorbs impact. When you replace the mesh, inspect this sponge layer carefully. Replace it if it shows permanent dents or deterioration.
Finally, avoid patching small tears. Patches don’t hold on mesh surfaces and actually create stress points around the patch edges. These stress points tear faster than the original damage would have. Replace the entire pad instead.
If tears continue after checking all these factors, your plastic backing might be warped. A warped backing creates uneven tension spots where mesh tears repeatedly. This requires full pad replacement with a new backing unit.
Final Thoughts
Fixing a torn kick pad mesh is simple once you know the steps. You remove the lugs, detach the old pad, and install a new one. The whole process takes less time than you think.
The real secret isn’t in the repair itself. It’s in what you do afterward. Prevention matters more than any fix you make today.
Your beater choice makes the biggest difference. Plastic beaters glide across mesh surfaces. Felt beaters grab and tear them apart. This single choice determines how long your new pad will last.
Think of mesh tearing like a cycle. You repair the pad, use the wrong beater again, and end up back where you started. Breaking this cycle means changing your equipment and your habits together.
Small changes create big results. Checking your beater before each session takes seconds. Inspecting mesh tension takes even less time. These quick habits save you hours of repair work later.
Your drumming technique also plays a role here. Heavy, forceful strikes wear down mesh faster than controlled hits. Learning to trust the rebound instead of forcing every note protects your equipment naturally.
Remember that patches never solve mesh tears permanently. Full replacement remains the only real fix. Trying shortcuts just wastes time and leads to frustration later.
Regular maintenance beats emergency repairs every time. A few minutes checking your setup each week prevents hours of frustration down the road. Your kick pad will thank you with years of reliable performance.
Mesh tearing feels frustrating, but it’s completely fixable. Armed with the right beater, proper technique, and consistent checks, you can keep your kick pad working smoothly for a long time. The fix is easy. The prevention is even easier.
Frequently Asked Questions
Can I patch a small tear in my mesh kick pad?
Patches don’t work well for mesh tears. The mesh material doesn’t hold patches securely because the surface is too textured. Small tears usually grow larger over time, especially with continued playing. Full pad replacement is the only reliable solution. You’ll spend more money on patches that fail than on replacing the pad once.
Why does my mesh keep tearing even after I fix it?
Your beater type is likely the problem. Felt beaters shred mesh like Velcro. The felt fibers catch and pull the mesh apart. Switch to a plastic beater immediately. Your striking technique matters too. Hitting the same spot repeatedly concentrates damage in one area. Loose mesh also tears faster because it doesn’t rebound properly. Check your tension regularly.
What’s the difference between felt and plastic beaters?
Felt beaters have a soft, fuzzy surface that catches mesh fibers. Plastic beaters have a smooth, hard surface that glides across mesh. Plastic beaters are safe for mesh pads. Felt beaters are designed for acoustic drums with real drumheads, not electronic mesh. Using the wrong beater type is the top reason for premature tearing.
Do I need to remove anything under the mesh before replacing it?
Yes. A sponge pad sits underneath your mesh head. Many drummers forget about this during removal. You must peel away the sponge carefully to avoid damaging the plastic backing. Don’t ignore it or your new pad won’t sit flat. Take your time separating the layers.
How often should I inspect my kick pad for damage?
Check your kick pad weekly. Look for small tears, loose mesh, or worn spots. Early detection prevents bigger problems. A quick visual inspection takes 30 seconds and saves you from emergency repairs later.

Hi, I’m Pearl Standen, the voice behind The Web Utility. I’m a passionate tech enthusiast who loves exploring the latest gadgets, smart devices, and electronics that make everyday life easier. Through my website, I share honest, well-researched reviews of trending Amazon products to help you make smarter buying decisions.