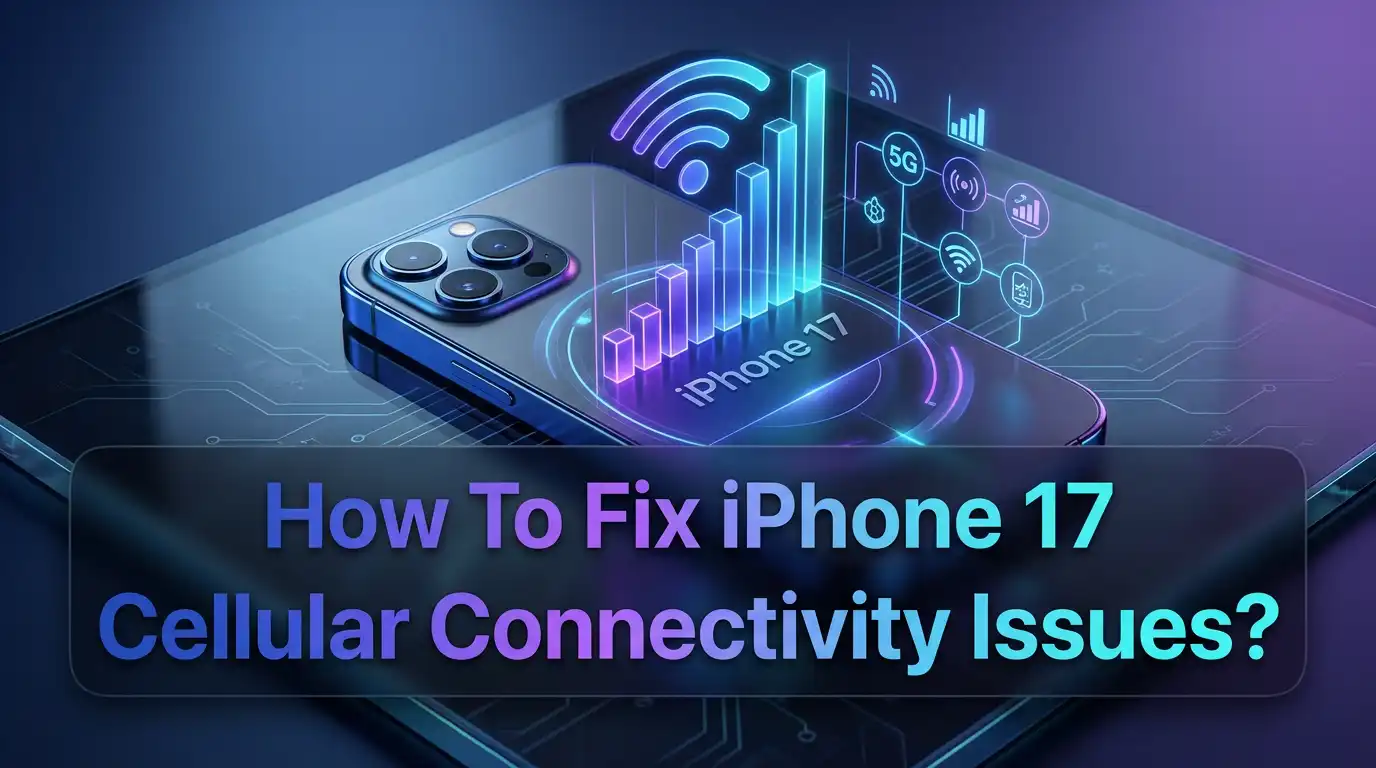
How To Fix iPhone 17 Cellular Connectivity Issues?
The iPhone 17 series has arrived with groundbreaking features, but some users are facing frustrating cellular connectivity problems.
Your iPhone might be dropping calls, showing no service, or failing to connect to mobile networks despite having full signal bars. These issues can disrupt your daily communication and prevent you from accessing essential services.
Cellular connectivity problems on the iPhone 17 can stem from software glitches, network settings corruption, carrier compatibility issues, or hardware-related concerns.
This comprehensive guide walks you through 12 proven methods to fix cellular connectivity issues on your iPhone 17, iPhone 17 Plus, iPhone 17 Pro, and iPhone 17 Pro Max.
In a Nutshell
- Toggle Airplane Mode to force your iPhone to reconnect to the cellular network quickly
- Reset Network Settings to clear corrupted configurations that cause connection failures
- Update iOS to the latest version to patch known cellular bugs and improve modem performance
- Remove and reinstall your SIM card or eSIM to refresh the connection with your carrier
- Contact your carrier if the issue persists, as it might be related to account provisioning or network outages
Understanding iPhone 17 Cellular Connectivity Problems
Cellular connectivity issues manifest in different ways on the iPhone 17. You might see “No Service” in the status bar, experience frequent call drops, or notice that your phone constantly searches for a network. Some users report that their device connects to Wi-Fi perfectly but fails to establish a cellular connection.
The iPhone 17 uses an advanced modem chip that manages cellular connections. When this modem encounters software conflicts or configuration errors, it can fail to maintain stable network connections. Environmental factors like being in areas with weak signal coverage can also trigger these issues.
Common symptoms include inability to make or receive calls, failed text message delivery, slow or non-existent mobile data speeds, and the cellular network switching between different carriers unexpectedly. Understanding these patterns helps identify the right solution for your specific problem.
The problem might be temporary and related to carrier network maintenance, or it could indicate deeper software or hardware issues. Many users have reported that their iPhone 17 works fine in certain locations but loses connectivity in others, suggesting carrier-specific or coverage-related problems.
Toggle Airplane Mode On and Off
The simplest fix for cellular connectivity issues is toggling Airplane Mode. This action forces your iPhone to disconnect from all wireless networks and then reconnect, often resolving temporary glitches in the cellular modem.
To toggle Airplane Mode, swipe down from the top-right corner of your screen to open Control Center. Tap the airplane icon to enable Airplane Mode, wait for 15 to 20 seconds, then tap it again to disable it. Your iPhone will automatically search for available cellular networks.
This method works because it performs a soft reset of the radio components without restarting the entire device. When you disable Airplane Mode, the iPhone re-establishes connections with cellular towers, often bypassing whatever temporary issue was causing the problem.
Pros: Quick and easy solution that takes less than a minute. No data loss or settings changes. Works for temporary network glitches.
Cons: Only provides a temporary fix for recurring problems. Won’t resolve issues caused by corrupted network settings or hardware failures.
Restart Your iPhone 17
A complete device restart clears the memory and resets all running processes, including the cellular modem. This can resolve connectivity issues caused by software conflicts or memory leaks that develop during extended usage.
For iPhone 17 models, press and hold the Side button and either Volume button simultaneously until the power-off slider appears. Drag the slider to turn off your device. Wait for 30 seconds, then press and hold the Side button again until you see the Apple logo.
After restarting, your iPhone reinitializes all system components, including cellular connectivity modules. This fresh start often resolves issues that accumulated since your last restart. Many users find that regular restarts prevent connectivity problems from developing.
The restart process also clears temporary cache files and terminates background processes that might interfere with network connectivity. It’s a fundamental troubleshooting step that Apple Support recommends before attempting more complex solutions.
Pros: Resolves many software-related connectivity issues. Safe method with no risk of data loss. Refreshes all system components.
Cons: Requires device downtime of 1-2 minutes. May need to re-enter passwords for secured apps after restart.
Check for iOS Updates
Apple regularly releases iOS updates that include fixes for cellular connectivity bugs and modem firmware improvements. Running outdated software can leave your iPhone vulnerable to known issues that have already been patched.
Go to Settings > General > Software Update. If an update is available, tap Download and Install. Make sure your iPhone is connected to Wi-Fi and has at least 50% battery charge, or connect it to a power source during the update process.
iOS updates often include carrier settings updates that optimize your iPhone’s compatibility with your mobile network. These updates contain important information about your carrier’s network infrastructure and connection protocols.
Installing the latest iOS version ensures you have the most recent bug fixes and performance improvements. Apple has acknowledged that some iPhone 17 models experienced cellular issues on earlier iOS versions, which were subsequently resolved through software updates.
Pros: Fixes known bugs and improves overall performance. Includes carrier settings updates for better network compatibility. Free and official solution from Apple.
Cons: Requires Wi-Fi connection and sufficient storage space. Update process takes 15-30 minutes depending on file size.
Reset Network Settings
Resetting network settings is one of the most effective solutions for persistent cellular connectivity issues. This process erases all saved Wi-Fi networks, Bluetooth connections, VPN configurations, and cellular settings, restoring them to factory defaults.
Navigate to Settings > General > Transfer or Reset iPhone > Reset > Reset Network Settings. You’ll need to enter your passcode to confirm. After the reset, your iPhone will restart automatically.
This method resolves problems caused by corrupted network configurations that prevent proper cellular connections. Over time, as you connect to different networks and make various changes, configuration files can become corrupted or conflict with each other.
After the reset, you’ll need to reconnect to your Wi-Fi networks and reconfigure VPN settings if you use them. Your cellular connection should automatically re-establish using default settings that are optimized for your carrier.
Pros: Eliminates corrupted network configurations effectively. Doesn’t delete personal data like photos or apps. Resolves most software-related connectivity issues.
Cons: Removes all saved Wi-Fi passwords and Bluetooth pairings. Requires reconfiguring network preferences after reset.
Remove and Reinsert Physical SIM Card
For iPhone 17 models using a physical SIM card, removing and reinserting it can refresh the connection with your carrier’s network. This process also helps identify if the SIM card itself is damaged or improperly seated.
Power off your iPhone completely before removing the SIM card. Use the SIM ejector tool that came with your device, or a small paperclip, to gently press into the SIM tray hole on the side of your iPhone. The tray will pop out slightly.
Remove the SIM card, inspect it for any visible damage like scratches or discoloration, and gently wipe it with a clean, dry cloth. Check the SIM tray for any debris or damage. Reinsert the SIM card ensuring it’s properly aligned with the tray, then push the tray back into the iPhone.
Power on your iPhone and wait for it to connect to the cellular network. This process forces the device to re-authenticate with your carrier and can resolve issues caused by poor contact between the SIM card and the device’s reader.
Pros: Simple physical solution that often resolves hardware connection issues. Allows inspection of SIM card for damage. No data loss or configuration changes.
Cons: Not applicable to eSIM-only models. Risk of losing SIM card if not careful during removal. Requires SIM ejector tool.
Reset or Reinstall eSIM Profile
The iPhone 17 supports eSIM technology, and connectivity issues can sometimes be traced to corrupted eSIM profiles. Removing and reinstalling your eSIM can establish a fresh connection with your carrier’s authentication servers.
Go to Settings > Cellular > [Your Carrier Plan] and tap Remove Cellular Plan. Confirm the removal. Contact your carrier to obtain a new QR code or activation details for reinstalling the eSIM on your device.
To add the eSIM back, go to Settings > Cellular > Add Cellular Plan. Scan the QR code provided by your carrier or enter the activation details manually. Follow the on-screen prompts to complete the setup.
This process creates a new eSIM profile with fresh authentication credentials. It’s particularly effective when your iPhone shows “No Service” despite being in an area with good coverage, or when switching carriers doesn’t work properly.
Pros: Creates fresh carrier authentication profile. Effective for eSIM-specific connectivity issues. No physical components to handle.
Cons: Requires contacting carrier for new activation details. Temporary loss of service during reinstallation. May incur carrier fees in some cases.
Update Carrier Settings
Carrier settings updates contain information that helps your iPhone connect to your carrier’s cellular network and use features like VoLTE, Wi-Fi calling, and 5G. These updates are separate from iOS updates and address carrier-specific issues.
When a carrier settings update is available, you’ll see a popup notification asking if you want to update. If you dismissed this notification, you can manually check by going to Settings > General > About. If an update is available, you’ll see a prompt.
To check your current carrier settings version, go to Settings > General > About and look for the Carrier field. It shows your carrier name and the version number. Compare this with the latest version available from your carrier.
Carrier settings updates are small and install quickly, often within seconds. They don’t require a device restart in most cases. These updates can enable new network features or improve connectivity performance on your carrier’s infrastructure.
Pros: Quick installation process. Addresses carrier-specific network issues. Enables new cellular features and improvements.
Cons: Depends on carrier releasing updates. Limited control over what gets updated. Rare, but can sometimes introduce new issues.
Disable and Re-enable Cellular Data
Sometimes the cellular data switch can get stuck in an error state, preventing proper network connectivity even though it appears to be enabled. Toggling it off and on can reset this state.
Open Settings > Cellular and toggle the Cellular Data switch off. Wait for 10 seconds, then toggle it back on. You should see your carrier name reappear in the status bar as the connection re-establishes.
This action forces the iPhone to re-register with the cellular network and refresh its data connection. It’s particularly useful when you can make calls but can’t access mobile data, or when data speeds are significantly slower than expected.
You can also try toggling specific features like Data Roaming, LTE/5G options, or Wi-Fi Assist to see if any of these settings are causing conflicts with your cellular connectivity.
Pros: Quick toggle that often resolves data connection issues. No permanent changes to device settings. Works while keeping phone calls active.
Cons: Temporarily interrupts data connection during toggle. Won’t fix issues related to account provisioning or hardware problems.
Select Network Manually
Your iPhone typically selects a cellular network automatically, but sometimes forcing a manual network selection can resolve connectivity issues, especially when roaming or in areas with multiple carrier towers.
Go to Settings > Cellular > Network Selection and turn off Automatic. Your iPhone will scan for available networks and display a list. This process might take 30 to 60 seconds depending on signal strength in your area.
Select your carrier’s network from the list. If you see multiple entries for your carrier, try each one to see which provides the best connection. This process forces your iPhone to connect to a specific tower or network rather than letting it choose automatically.
Once connected, monitor your signal strength and connection stability. If the problem persists, you can switch back to automatic selection. Manual selection is particularly useful when your iPhone keeps switching between different networks or fails to connect to your primary carrier.
Pros: Gives direct control over network selection. Useful for troubleshooting carrier-specific issues. Can improve connection in areas with weak signals.
Cons: Must manually switch networks when traveling. May reduce battery life due to constant network monitoring. Requires knowledge of carrier networks in your area.
Check for Physical Damage and Antenna Issues
Physical damage to your iPhone 17 can affect the internal antenna components responsible for cellular connectivity. Even minor drops or exposure to moisture can disrupt these sensitive components.
Inspect your iPhone carefully for any visible damage, particularly around the edges where antenna bands are located. Look for dents, cracks, or discoloration that might indicate internal damage. Check if your device has been exposed to water or extreme temperatures.
Remove any thick protective cases or metal accessories that might interfere with signal reception. Some cases, especially those with metal components, can block cellular signals and cause connectivity problems.
If you suspect physical damage, Apple’s diagnostics tools can perform internal tests to check antenna functionality. Visit an Apple Store or authorized service provider for a professional assessment. They can run comprehensive tests to identify hardware-related issues.
Pros: Identifies hardware problems that software fixes can’t resolve. Professional diagnosis ensures accurate problem identification. May be covered under warranty.
Cons: Requires visiting service center for proper testing. Hardware repairs can be expensive if not under warranty. May involve device replacement.
Contact Your Carrier for Account and Network Issues
Sometimes connectivity problems originate from your carrier’s network rather than your device. Account provisioning errors, network outages, or incompatible plan settings can all cause cellular issues that appear to be device problems.
Contact your carrier’s technical support and explain your connectivity issues. Ask them to verify that your account is properly provisioned for iPhone 17 and that all features like VoLTE, 5G, and Wi-Fi calling are correctly activated.
Your carrier can check for network outages in your area, verify that your IMEI number is correctly registered, and reset your network connection from their end. They can also confirm if there are any known compatibility issues between the iPhone 17 and their network infrastructure.
Request that they reprovision your account, which refreshes your network credentials on their servers. This can resolve authentication issues that prevent your iPhone from connecting properly. Ask about any required APN settings that might need manual configuration.
Pros: Resolves carrier-side issues that device troubleshooting can’t fix. Can identify network coverage problems in your area. May reveal account-specific restrictions.
Cons: May involve long wait times for customer support. Resolution depends on carrier’s technical capabilities. Might require multiple follow-up calls.
Perform a Factory Reset as Last Resort
If all other solutions fail, a factory reset returns your iPhone to its original state, eliminating any software corruption that might be causing connectivity issues. This is a comprehensive solution that should only be attempted after trying all other methods.
Before proceeding, back up your iPhone using iCloud or a computer with iTunes/Finder. Go to Settings > General > Transfer or Reset iPhone > Erase All Content and Settings. Enter your passcode and Apple ID password to confirm.
The reset process erases everything on your device and reinstalls a fresh copy of iOS. After completion, you can restore your data from the backup you created. This ensures you start with a clean software environment while recovering your personal information.
A factory reset resolves deep-seated software conflicts that accumulate over time. It’s particularly effective when connectivity issues began after installing certain apps or making significant system changes. However, it’s time-consuming and requires careful preparation.
Pros: Eliminates all software-related problems. Provides completely fresh start for troubleshooting. Often resolves persistent issues that other methods can’t fix.
Cons: Requires complete device backup and restoration. Time-consuming process taking 1-2 hours. Temporarily lose access to device during reset.
Frequently Asked Questions
Why does my iPhone 17 keep losing cellular signal?
Your iPhone 17 might lose cellular signal due to software glitches, corrupted network settings, carrier network issues, or physical damage to antenna components. The problem could be intermittent if it’s related to specific locations with poor coverage or network congestion. Try resetting network settings and updating iOS to the latest version. If the issue persists in all locations, contact your carrier to check for account provisioning problems or network outages in your area.
How do I force my iPhone 17 to reconnect to cellular network?
The fastest way to force reconnection is by toggling Airplane Mode on and off. Swipe down from the top right corner to open Control Center, tap the airplane icon to enable it, wait 15 seconds, then tap it again to disable. This forces your iPhone to disconnect and reconnect to cellular towers. If that doesn’t work, restart your device completely by holding the Side button and Volume button, then sliding to power off.
Can a software update fix iPhone 17 cellular problems?
Yes, software updates often include fixes for cellular connectivity bugs and modem firmware improvements. Apple has released several iOS updates specifically addressing iPhone 17 cellular issues. Go to Settings, General, Software Update to check for available updates. Make sure you’re connected to Wi-Fi and have sufficient battery before updating. Many users report that updating to the latest iOS version resolved their connectivity problems completely.
Does removing the SIM card help with connectivity issues?
Removing and reinserting a physical SIM card can help by refreshing the connection between your device and carrier network. This resolves issues caused by poor contact or corrupted SIM data. Power off your iPhone before removing the SIM, clean it gently with a dry cloth, inspect for damage, and reinsert it properly. For eSIM models, you’ll need to remove and reinstall the eSIM profile through Settings instead of physically handling a card.
When should I contact Apple Support for cellular issues?
Contact Apple Support if you’ve tried all troubleshooting steps including network reset, iOS update, and SIM card removal without success. Also reach out if you notice physical damage, battery drain during connectivity issues, or if the problem started immediately after a drop or water exposure. Apple can run remote diagnostics and determine if your device has a hardware defect requiring repair or replacement under warranty.

Hi, I’m Pearl Standen, the voice behind The Web Utility. I’m a passionate tech enthusiast who loves exploring the latest gadgets, smart devices, and electronics that make everyday life easier. Through my website, I share honest, well-researched reviews of trending Amazon products to help you make smarter buying decisions.