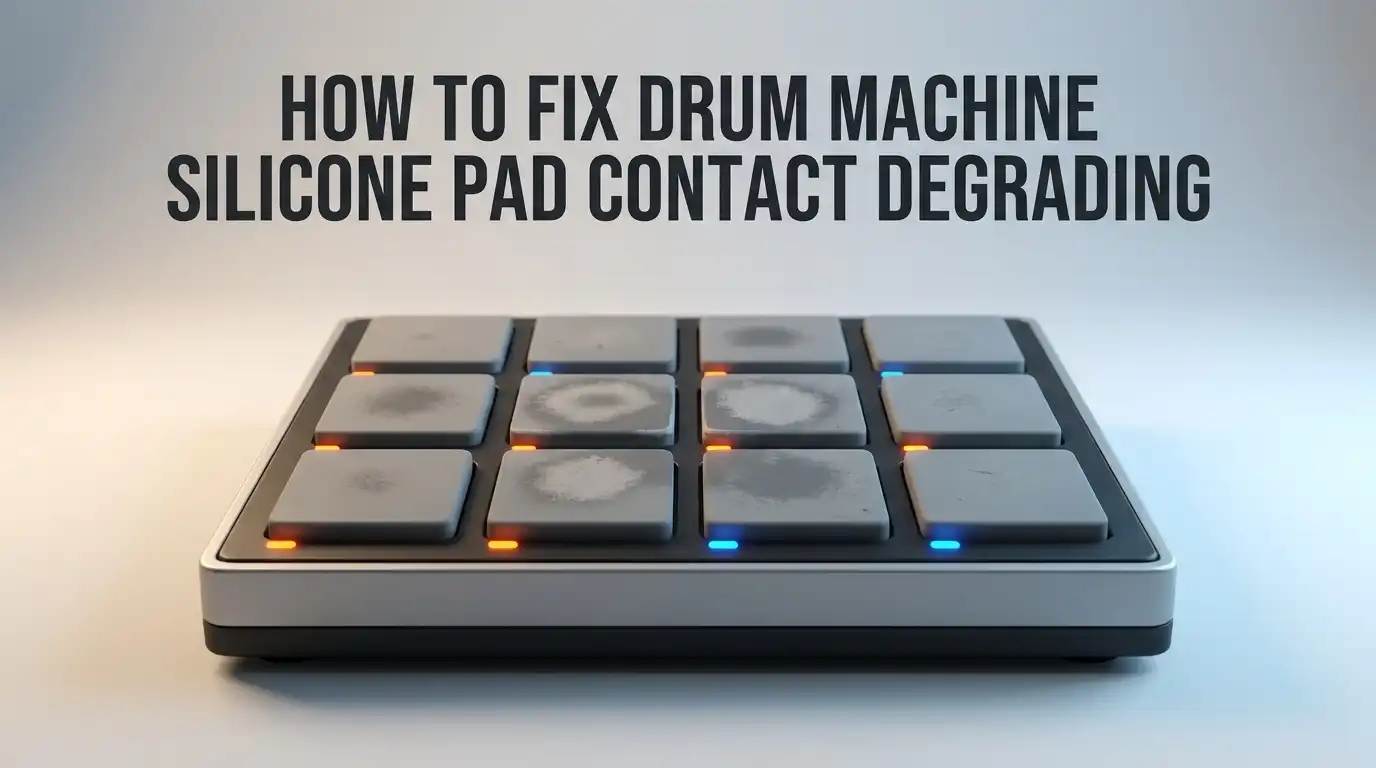
How To Fix Drum Machine Silicone Pad Contact Degrading?
Your drum machine pads feel sticky or unresponsive. You hit them hard, but nothing happens. This is a common problem, and it usually points to silicone pad contact degradation.
Over time, silicone contacts wear down. Moisture and debris build up inside the pad assembly. This buildup blocks the signal between your finger and the sensor.
The good news? You can fix this issue at home. You don’t need to buy a brand new drum machine.
This guide walks you through the entire repair process. We will show you how to disassemble your drum machine safely. You will learn how to clean the pads properly.
In a Nutshell
- Check cables first. A loose or worn cable often mimics pad damage. Swap it before opening the drum.
- Reset your module. Sometimes the fix is software, not hardware. A simple reset can restore pad response instantly.
- Clean before you reseal. Dust and moisture cause most silicone problems. Thorough cleaning often solves the issue on its own.
- Use the right sealant. Only apply silicone safe adhesive. Wrong materials can make contacts worse or fail faster.
- Know when to replace. If pads stay unresponsive after cleaning and resealing, a full pad assembly swap is your best option.
- Prevent future wear. Regular wipe downs and gentle playing habits keep pads working longer.
Understanding Silicone Pad Contact Degradation
Silicone pad contact degradation happens when the rubber material breaks down over time. Your drum machine pads lose their ability to register hits accurately. This occurs because silicone naturally ages and becomes less responsive to pressure.
Sticky pad syndrome is the most common problem you’ll encounter. The silicone surface accumulates dust, sweat, and moisture from your hands. These contaminants create a sticky layer that blocks proper electrical contact. Your pads feel sluggish or fail to trigger sounds consistently.
Contact wear develops from repeated striking. Every time you hit a pad, the silicone compresses slightly. After thousands of impacts, the material flattens and hardens. The electrical connection weakens because the contact points no longer press together properly.
Moisture accelerates degradation significantly. If your drum machine sits in humid environments, water seeps into the pad assembly. This moisture corrodes the metal contacts underneath the silicone. You’ll notice pads becoming unresponsive in certain spots.
Debris accumulation speeds up the problem too. Dust particles settle between the silicone and the circuit board below. Over weeks and months, this buildup prevents proper electrical contact. The pad feels dead or only responds to very hard strikes.
Age is another factor. Silicone has a lifespan. After several years of use, the material simply loses its elasticity. Even clean, well maintained pads eventually degrade.
Understanding these causes helps you prevent future damage. You’ll know why regular cleaning matters. You’ll recognize when resealing might help versus when you need full replacement. This knowledge makes your repair decisions easier and more effective.
Signs Your Drum Pad Contacts Are Failing
Your drum pads send out signals every time you hit them. When the silicone contacts degrade, these signals become weak or stop completely. Here are the main signs that your pad contacts are failing.
Unresponsiveness on specific pads is the first red flag. You tap a pad, but the drum machine doesn’t trigger a sound. Sometimes only certain pads act this way while others work fine. This points directly to contact degradation on those specific pads.
Inconsistent velocity response is another warning sign. Your pad should register harder hits as louder sounds. If the volume stays the same no matter how hard you strike, the contacts are likely worn. You might also notice the pad triggers randomly without being touched.
Sticky or sluggish pad feel tells you the silicone is breaking down. The pad feels mushy or takes longer to bounce back. This physical change means the electrical contacts underneath are also suffering damage.
Delayed triggering happens when contacts wear down. You hit the pad, but the sound comes a split second late. This lag makes playing in time nearly impossible.
Intermittent responsiveness is frustrating. A pad works sometimes but not always. You might hit it five times and get three sounds. This inconsistency screams contact degradation.
Visible discoloration or cracking on the pad surface confirms the problem. Look for dark spots, cracks, or areas where the silicone appears damaged or sticky to the touch.
If you notice any of these signs, your contacts need attention. The good news is that catching these early makes repairs easier and faster.
Tools and Materials You’ll Need
Before you start fixing your drum machine, gather the right tools and materials. Having everything ready prevents frustration and makes the job faster.
Disassembly tools come first. You’ll need a screwdriver set with multiple head types. Phillips and flathead screwdrivers handle most drum machines. A T5 or T6 Torx screwdriver works for some models. Keep a small container nearby to store screws so they don’t get lost.
Cleaning supplies are essential. Isopropyl alcohol removes debris and old adhesive from pads and contacts. Use cotton swabs or soft brushes to apply it. Lint free cloths prevent fibers from sticking to wet surfaces. Never use paper towels because they leave residue.
Inspection equipment helps you see the damage clearly. A flashlight or headlamp illuminates tight spaces inside your drum machine. A magnifying glass reveals hairline cracks or corrosion on contacts.
Protective gear keeps you safe. Wear nitrile gloves to protect your hands from alcohol and old adhesive. Safety glasses prevent debris from entering your eyes during disassembly.
Replacement materials depend on your repair approach. Silicone safe adhesive is necessary if you’re resealing pads. Have a replacement cable on hand since worn cables often cause pad issues. Some repairs need a new pad assembly entirely.
Documentation tools matter too. Take photos before disassembly so you remember how everything connects. A notepad tracks which screws go where.
Organize your workspace on a clean, flat surface. Good lighting helps you see small components clearly. Keep your tools within arm’s reach to avoid interruptions. This preparation makes your repair smoother and more successful.
Step-by-Step Guide to Disassembling and Cleaning Pads
Start by unplugging your drum machine completely. This keeps you safe during the disassembly process. Take photos of the pad assembly before you remove anything. These images help you remember where each cable and connector goes.
Locate the screws holding the top casing or pad panel. Use the correct screwdriver size to avoid stripping the screw heads. Remove screws slowly and place them in a small container so you don’t lose them. Keep track of screw lengths since different areas may use different sizes.
Gently lift the pad assembly away from the main unit. Watch for any cables still connected underneath. Disconnect these cables carefully by pressing the release tabs or pulling straight out. Don’t force anything or you’ll damage the connectors.
Examine the silicone pads closely under good lighting. Look for visible dirt, sticky residue, or discoloration on the contact areas. Use a soft brush or compressed air to remove loose debris first. This prevents pushing dirt deeper into the pads.
Dampen a soft cloth with a mild cleaning solution. Gently wipe each pad’s contact surface in circular motions. Don’t soak the pads or let liquid drip into cable connections. Pay special attention to the edges where dirt accumulates most.
Inspect the ribbon cables and connectors for corrosion or damage. Clean these gently with a dry cloth. Check that connector pins look shiny and undamaged. Corroded or bent pins often cause responsiveness problems that people mistake for pad degradation.
Let everything air dry completely before reassembly. This typically takes 15 to 30 minutes depending on humidity. Moisture left inside can cause electrical shorts or connection issues later.
How To Reseal or Replace Degraded Silicone Contacts
When your silicone pads stop responding properly, you have two main repair paths. You can reseal the existing pads or replace them entirely. The choice depends on how severe the degradation is.
Resealing works best for mild to moderate wear. This process involves applying a fresh protective layer to the silicone surface. The goal is to restore electrical contact between the pad and the underlying sensor. Clean the pad surface thoroughly first with isopropyl alcohol. Let it dry completely. Apply a thin, even coat of conductive or non conductive sealant depending on your drum machine’s design. Some machines need conductive material to maintain signal flow. Others work fine with standard silicone sealant. Check your manual to confirm which type suits your model.
Allow the sealant to cure for the full time recommended by the manufacturer. This usually takes 24 to 48 hours. Test each pad gently before full use.
Replacement becomes necessary when degradation is severe. Cracked pads, deep discoloration, or complete unresponsiveness signal that resealing won’t help. You’ll need to source replacement pad assemblies or individual pads. Carefully remove the old pads by gently peeling them away. Clean any adhesive residue from the base. Install new pads by pressing them firmly into place. Ensure they align perfectly with the sensors underneath.
Test responsiveness after either repair method. Strike each pad multiple times to check velocity response. Look for consistent triggering across all pads. If problems persist after resealing, replacement is your next step.
Regular maintenance prevents future issues. Clean your pads monthly and store your drum machine in a dry environment. These simple habits extend pad lifespan significantly.
Testing and Calibrating Pad Responsiveness After Repair
After you repair your drum machine pads, testing them properly ensures everything works correctly. This step prevents frustration when you’re ready to make music again.
Start by powering on your drum machine in a quiet space. Strike each pad firmly with consistent force to hear if it triggers sound. Listen for clear audio output without delays or stuttering. If a pad doesn’t produce sound, it still needs attention.
Test velocity response by hitting pads with different levels of pressure. Soft hits should produce quieter sounds. Hard hits should produce louder sounds. If velocity doesn’t change, the contact issue persists. This tells you the repair didn’t fully solve the problem.
Play rapid sequences on each pad to check responsiveness. Hit the same pad five to ten times quickly. The drum machine should register every strike without missing any hits. Intermittent drops mean the contact still has weak spots.
Calibrate your sensitivity settings if your drum machine has adjustable parameters. Access the settings menu and follow your user manual for sensitivity adjustments. Lower sensitivity can sometimes compensate for slightly degraded contacts. Higher sensitivity reveals any remaining contact problems.
Create a simple test pattern hitting all pads in sequence. Record this pattern and listen for consistency across the entire pad set. Uneven response between pads indicates some repairs worked better than others.
Document which pads respond perfectly and which ones feel sluggish. Take notes on velocity consistency and triggering speed. This information helps you decide if additional repairs are needed or if the fix was successful.
Test your drum machine for at least 10 to 15 minutes before considering the repair complete. Extended testing reveals issues that quick checks might miss.
Common Mistakes to Avoid During Repair
When repairing drum machine silicone pads, certain mistakes can make your problem worse instead of better. Understanding what to avoid saves you time and money.
Never use the wrong sealant material on your silicone pads. Some adhesives and coatings damage silicone rather than restore it. Always check compatibility before applying anything to your pads. Wrong sealants can harden the silicone permanently or create sticky buildup that makes responsiveness even worse.
Incomplete disassembly causes many repair failures. Rushing through the process means you miss hidden debris trapped under cables or in connector areas. Take your time removing each component carefully. Check every connection point thoroughly before reassembling.
Skipping cable inspection is a common error. Many people assume the pads themselves are the problem when degraded cables actually cause the poor responsiveness. Examine all ribbon cables and connectors for corrosion, fraying, or loose connections. Replace damaged cables before investing effort into pad resealing.
Avoid applying excessive force during disassembly. Prying too hard on pad assemblies can crack internal components or break connector pins. Use gentle pressure and proper tools instead of brute force.
Don’t skip the drying step after cleaning. Moisture trapped inside your drum machine causes corrosion and electrical problems. Allow everything to air dry completely in a dry space before reassembly.
Never test your repairs while components are still wet or damp. This creates short circuits that damage your drum machine permanently. Wait until everything is completely dry.
Avoid reassembling too quickly. Rushing leads to misaligned components or forgotten screws. Double check that all parts sit properly before powering on your machine again.
Preventive Maintenance for Long-Lasting Pad Contacts
Regular cleaning keeps your drum machine pads working like new. Dust and debris settle on silicone contacts and reduce sensitivity over time. Wipe down your pads weekly with a soft, dry cloth to prevent buildup.
Store your drum machine in a clean, dry environment. Moisture is the enemy of silicone contacts. High humidity speeds up degradation significantly. Keep your equipment away from windows, bathrooms, and damp areas.
Avoid eating or drinking near your drum machine. Sticky residue from food and beverages damages pad contacts fast. Spills can seep into the circuit board and cause electrical problems. Set up a clean workspace for practice sessions.
Use protective covers when your drum machine sits unused. Covers block dust from settling on the pads and internal components. This simple step extends pad lifespan by months or even years.
Check your cables regularly for wear and damage. Degraded cables often cause pad contact problems before the pads themselves fail. Replace cables that show cracks, fraying, or discoloration right away. This prevents unnecessary pad replacement later.
Handle your drum machine gently during transport. Rough movement can loosen internal connections and damage pad assembly. Use padded cases when moving your equipment between locations.
Play your drum machine consistently but moderately. Excessive hitting wears pads faster than normal use. Vary the pressure you apply to pads to distribute wear evenly across the surface.
Test your pads monthly to catch early signs of degradation. Hit each pad and listen for changes in responsiveness. Early detection lets you reseal or replace pads before they fail completely. This proactive approach saves time and keeps your workflow smooth.
Final Thoughts
Fixing silicone pad contact degradation does not need to feel overwhelming. Most problems come from simple causes like dirt, moisture, or worn cables. You can solve these issues at home with patience and the right steps.
Start with the easiest fixes first. Check your cables before you touch the pads themselves. A loose or damaged cable often causes the same symptoms as a bad pad contact.
If cables check out fine, move on to cleaning and resealing. Clean pads thoroughly during disassembly to remove built up grime. This step alone fixes many sticky pad problems.
Resealing works well for moderate wear. Choose materials made for silicone specifically. The wrong sealant can make your problem worse instead of better.
Sometimes resealing does not restore full responsiveness. In these cases, replacing the entire pad assembly becomes your best option. This costs more time but gives you reliable results.
Testing matters as much as repairing. Always check pad response after each fix. This helps you know if you solved the problem or need another approach.
Remember that prevention beats repair every time. Regular cleaning and gentle handling keep your pads working longer. Small habits protect your investment over months and years.
Drum machine repairs reward careful, methodical work. Rushing through steps often leads to missed problems or new damage. Take your time with each stage of the process.
Your drum machine can perform like new again with proper care. Follow these steps in order, test as you go, and don’t skip the small details. This approach solves most silicone pad contact issues you will encounter.
Frequently Asked Questions
Why do my drum pads feel sticky or unresponsive after months of use?
Silicone pads degrade over time from repeated impacts and friction. The contact layer wears down, making pads less sensitive to your hits. Moisture and dust also build up inside the pad assembly, which reduces responsiveness. This sticky feeling usually signals that the silicone surface has lost its original texture.
The good news? You can often fix this with cleaning and resealing. Start by opening your drum machine carefully and inspecting the pads for visible debris or discoloration.
Should I replace the entire pad or try to reseal it?
That depends on how severe the damage looks. If your pads still respond to hard hits but feel sluggish, resealing works well. However, if pads barely respond even with force, full replacement becomes necessary.
Moderate wear responds best to resealing. Severe degradation requires a complete pad assembly swap. Check the pad surface first. Deep cracks or heavy discoloration mean replacement is your better option.
What should I check before assuming the pads are broken?
Always inspect your cables first. Many people think their pads failed when actually the connecting cables degraded. Worn or corroded cables prevent signals from reaching your drum module, making pads seem unresponsive.
Test each cable for visible damage, kinks, or loose connections. A simple cable replacement often solves the problem without touching the pads themselves.
How often should I clean my drum pads to prevent degradation?
Clean your pads monthly during regular use. A quick wipe with a dry cloth removes dust and debris. This simple habit extends pad lifespan significantly.
Store your drum machine in a dry location away from food and drinks. These preventive steps keep your pads responsive for years.

Hi, I’m Pearl Standen, the voice behind The Web Utility. I’m a passionate tech enthusiast who loves exploring the latest gadgets, smart devices, and electronics that make everyday life easier. Through my website, I share honest, well-researched reviews of trending Amazon products to help you make smarter buying decisions.