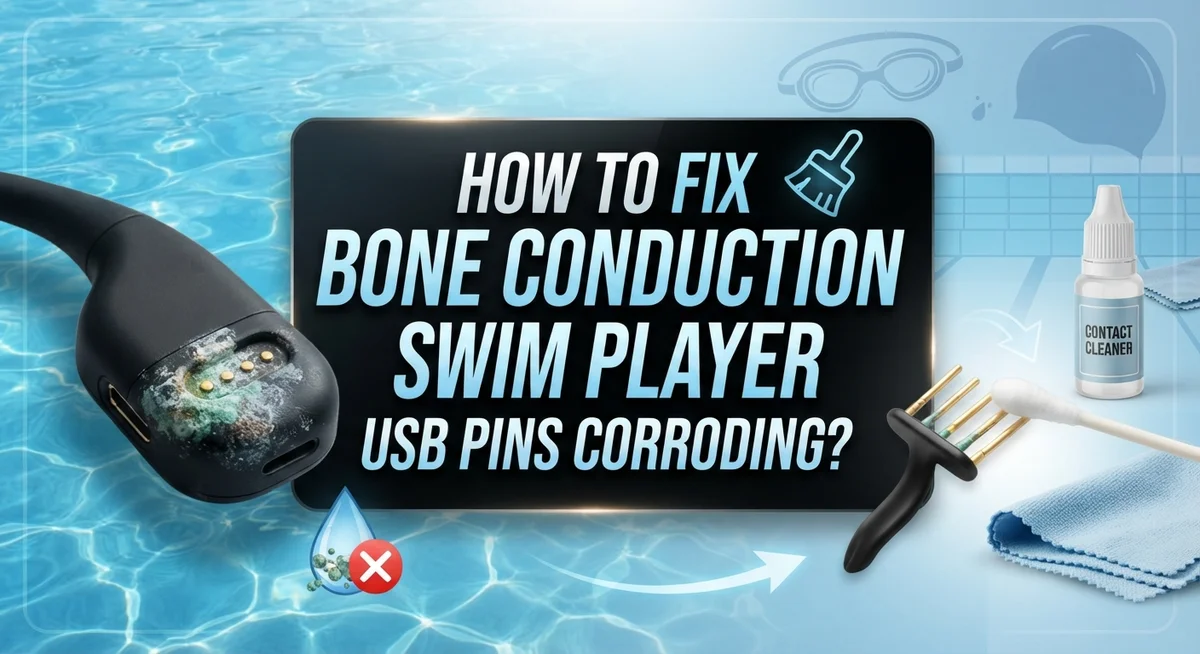
How To Fix Bone Conduction Swim Player USB Pin Corrosion?
Do your bone conduction swim headphones refuse to charge? Green or white residue near the USB pins is a clear warning sign. This happens when saltwater or pool chemicals sit on the metal contacts for too long.
Corrosion can block your charging connection completely. It can also cause weird pairing issues or sudden power loss. The good news is that this problem is often fixable with the right approach.
This guide walks you through simple, safe steps to clean corroded USB pins. You will learn how to remove buildup without damaging your device. We also cover the best drying techniques to stop corrosion before it starts.
In a Nutshell
- Rinse with fresh water right after every swim. This removes salt and chlorine before they turn into corrosion on your USB pins.
- Dry completely before charging. Lay the device on a towel, speaker mesh facing down, and let it air dry fully.
- Use gentle vacuum suction on the ports if water gets trapped inside. This pulls moisture out without damaging delicate pins.
- Avoid alcohol or harsh cleaners. These chemicals eat away at metal contacts faster than water alone.
- Keep the USB cord unplugged until you are sure every drop of moisture is gone. Charging a wet device invites corrosion.
- Check battery level first if your player won’t turn on. Sometimes it’s just low power, not pin damage.
- Try a factory reset for pairing glitches. This often fixes connection issues without touching the hardware.
Why USB Pins Corrode on Swim Headphones
Saltwater and chlorine create the perfect storm for USB pin corrosion on bone conduction swim headphones. When you wear these devices in the pool or ocean, water seeps into the charging port even though they carry IP67 ratings.
The real culprit is salt and mineral deposits. Saltwater contains sodium chloride and other compounds that oxidize metal rapidly. Chlorine pools add their own chemical mix. These substances sit on copper and gold plated pins, triggering a chemical reaction that builds up green or white crusty layers.
Moisture trapped inside ports accelerates this process dramatically. If water doesn’t drain completely, it stays in contact with the pins for hours or days. This extended exposure transforms a minor splash into serious corrosion damage.
Temperature swings make things worse too. When you go from a cold pool to warm air, condensation forms inside the device. This moisture brings dissolved minerals that settle directly on your USB connections.
The pins themselves are delicate. They’re typically made from gold plating over copper or brass. Once corrosion starts, it spreads fast because the metal underneath is softer and more reactive.
Charging before drying is especially destructive. Electricity running through wet ports speeds up the oxidation process. This is why manufacturers warn against plugging in damp devices.
Even brief exposure matters. A single swim without proper drying can start the corrosion cycle. Multiple swims without care compound the problem exponentially.
Understanding this chemistry helps you see why prevention matters so much. You’re fighting against natural chemical reactions that happen automatically when metal meets saltwater. Simple drying steps interrupt this process before damage occurs.
Signs of Corrosion and Water Damage to Watch For
Corrosion on your bone conduction swim player’s USB pins shows up in specific ways. You need to spot these signs early before charging damage gets worse.
Look for discoloration around the USB port first. Green, white, or blue crusty buildup means corrosion is already happening. This residue comes from saltwater, chlorine, and minerals that dry on the metal contacts. Don’t ignore it. The buildup blocks electrical connection and prevents proper charging.
Check if your device won’t charge even when plugged in correctly. The headphones might power on briefly, then die quickly. This happens because corroded pins can’t deliver power efficiently to the battery. You might also notice the charging light flickers or doesn’t appear at all.
Water trapped inside the USB port is another red flag. Small water droplets visible in the charging cavity mean moisture is sitting on the pins right now. This creates the perfect environment for corrosion to spread fast. You might see condensation fogging the port opening.
Listen for unusual sounds or connection drops during use. Corroded pins sometimes cause Bluetooth disconnections or crackling audio. These electrical glitches mean the corrosion has reached a serious stage.
Feel the USB connector itself. A rough or pitted texture instead of smooth metal indicates active corrosion damage. The pins might look dull instead of shiny.
Act fast when you notice any of these signs. The longer corrosion sits on the pins, the harder it becomes to reverse. Fresh water rinses and vacuum suction work best on early stage corrosion. Advanced corrosion might require professional cleaning or replacement. Prevention through proper drying after every swim stops most problems before they start.
Step-by-Step: Cleaning and Drying Corroded USB Pins
Start by shaking off all visible water from your swim player. Hold it over a sink or towel and gently tap the device to release trapped droplets. This simple step removes most surface moisture before deeper cleaning begins.
Next, lay your bone conduction player on a clean, dry towel with the speaker mesh facing down. This position lets water drain away from the USB port naturally. Leave it undisturbed for several minutes while gravity does the work.
Rinse the USB port area with fresh water only. Use a small cup or bottle to pour clean water over the charging cavity. This removes salt, chlorine, and mineral deposits that cause corrosion. Avoid submerging the entire device in water or cleaning solutions.
After rinsing, apply gentle vacuum suction directly to the USB port. Hold the suction tool about half an inch away and use light pressure for 10 to 15 seconds. This pulls out moisture hiding deep inside the charging cavity without damaging delicate pins.
Pat the entire device dry with a soft cloth. Wipe the USB port area carefully and remove any remaining water droplets you can see. Do not rush this step.
Place your swim player in a warm, dry location with good air circulation. A bathroom counter or bedroom shelf works well. Keep the USB cord unplugged during this entire drying period. Moisture and electricity together damage the pins faster than moisture alone.
Check the device after several hours. Feel the USB port with your fingertip. It should feel completely dry before you attempt any charging. Air drying takes time, but this patience prevents permanent damage to your headphones.
Understanding IP67 Ratings and Their Care Requirements
IP67 ratings tell you how waterproof your bone conduction swim player actually is. The “6” means dust protection, while the “7” means the device survives immersion up to 1 meter for 30 minutes. This rating does NOT mean your headphones are corrosion proof.
Understanding what IP67 really protects helps you care for your device properly. The rating covers water entry during normal swimming. It does not cover saltwater damage, chlorine exposure, or extended moisture contact over time. Your USB pins remain vulnerable even with this high rating.
Saltwater and chlorine are chemical hazards, not just water. These substances attack metal pins aggressively. The IP67 seal keeps water out temporarily, but it cannot stop corrosion once moisture reaches the pins. This is why drying becomes critical after every swim.
Temperature changes affect your device’s protection too. When you move from a hot pool to cool air, condensation forms inside the charging port. This trapped moisture creates the perfect environment for corrosion to start. Your IP67 rating does not prevent this natural process.
Care protocols matter more than the rating itself. Always rinse with fresh water after saltwater swimming. This removes corrosive minerals before they damage anything. Never charge your device while it feels damp. Allow complete air drying first, even if it takes several hours.
Keep your USB cable unplugged during storage and drying periods. Moisture near the charging pins causes faster corrosion when electricity is present. The IP67 rating gives you confidence in water resistance, but proper maintenance is what actually keeps your swim player working. Prevention through correct drying techniques saves your device from permanent damage.
Best Practices for Preventing Future Corrosion
Preventing corrosion starts with understanding what causes it. Salt, chlorine, and minerals in water react with metal pins and create buildup. Fresh water rinses are your first defense against these corrosive materials.
After each swim session, rinse your device under clean tap water for 10 to 15 seconds. Focus the water directly on the USB port area. This simple step removes salt crystals and chemicals before they can damage the pins.
Let your swim player dry completely before charging it again. Moisture trapped inside the port causes corrosion to develop faster. Place your device in a warm room with good air flow. You can also position it near a fan to speed up drying. Never rush this step by plugging it in too early.
Keep your USB cable disconnected during storage and drying periods. Water can travel along the cable into the charging port if both are connected. Store your device in a dry location away from humidity and temperature swings.
Check your USB port regularly for any signs of discoloration or buildup. Catching problems early makes them easier to handle. If you notice green, white, or blue crusty deposits, clean them immediately using only fresh water and gentle suction.
Consider storing your swim player with a small packet of silica gel nearby. This absorbs excess moisture in the air around your device. Replace these packets every few months to keep them effective.
Avoid using alcohol, vinegar, or harsh cleaning solutions on your device. These can damage internal components and make corrosion worse. Stick to fresh water and gentle drying techniques. These basic practices keep your USB pins protected for years of swimming.
Mistakes That Make Corrosion Worse
Many swimmers make mistakes that speed up corrosion on their bone conduction player’s USB pins. Understanding these errors helps you protect your device.
Charging too quickly after swimming is one of the biggest mistakes. You might feel eager to use your player again, but moisture inside the charging port creates electrical pathways that damage the pins. Water and electricity together cause rapid corrosion. Always wait until your device is completely dry before plugging in the USB cable.
Using harsh cleaning liquids causes serious damage. Alcohol, vinegar, and commercial cleaners strip protective coatings from the metal pins. These solutions also leave residue that attracts more corrosion. Stick to fresh water only when rinsing your device.
Ignoring water trapped in the port lets corrosion develop unchecked. Many swimmers assume the water will evaporate on its own, but it sits inside the charging cavity and corrodes the pins slowly. You must remove this water actively using gentle vacuum suction.
Storing your device while damp accelerates corrosion significantly. Moisture trapped in enclosed spaces creates the perfect environment for rust and salt buildup. Your swim player needs air circulation and warmth to dry properly.
Leaving the USB cable plugged in during storage introduces another problem. The connected cable holds moisture against the pins and prevents proper air drying. Disconnect your cable completely and store it separately in a dry location.
Skipping the fresh water rinse after saltwater swimming is equally harmful. Salt crystals remain on the pins and corrode them rapidly. A quick 10 to 15 second rinse with tap water removes these corrosive chemicals before they cause permanent damage.
Troubleshooting: Device Won’t Charge or Power On
When your bone conduction swim player won’t charge or power on, corrosion on the USB pins is often the culprit. This happens because saltwater and chlorine leave mineral deposits that block electrical connections.
Start by checking if your device actually has power. Press and hold the power button for 10 seconds. Sometimes the battery is simply drained, not damaged. If nothing happens, move to the next step.
Shake off any visible water from the device. Hold it with the speaker mesh facing downward so water drains out naturally. Don’t squeeze or force water out, as this can push moisture deeper into the port.
Rinse the entire device under fresh tap water for 10 to 15 seconds. This removes salt and chemical residue that causes corrosion. Pay special attention to the USB port area. Use your finger gently to wipe around the opening.
Pat the device completely dry with a soft, lint free cloth. Get into all crevices and around the port opening. Use gentle suction near the USB port to remove trapped moisture. You can use a hand pump or small vacuum designed for electronics.
Place your swim player in a warm, dry location with good air circulation. Leave it unplugged for at least 24 hours. Some moisture takes time to evaporate completely.
After the device dries fully, try charging it again. If it still won’t power on, the corrosion may be too severe for home repair. Prevention is much easier than fixing damaged pins, so always dry your device thoroughly before charging in the future.
Long-Term Maintenance Habits for Swim Headphones
Building a routine for your bone conduction swim headphones keeps USB pins healthy for years. Consistency matters more than perfection when protecting against corrosion.
Start each post swim session the same way. Shake off excess water immediately after you exit the pool. Lay your device on a dry towel with the speaker mesh facing down. This simple step prevents water from pooling near the USB port.
Rinse your headphones under fresh tap water for 10 to 15 seconds. This removes salt, chlorine, and other chemicals that speed up corrosion. Use only clean tap water. Never use alcohol, vinegar, or cleaning solutions on your device.
Pat the entire device dry with a soft cloth. Pay extra attention to the USB port area. Gently apply vacuum suction near the port opening to remove trapped moisture. This step is crucial for preventing hidden water damage.
Air dry completely before charging. Place your swim player in a warm, dry location with good air circulation. Wait until you feel absolutely certain no moisture remains inside. This typically takes several hours depending on humidity levels.
Store your device with the USB cable unplugged. Water and electricity together create corrosion problems. Keep your headphones in a dry container away from direct sunlight.
Check your USB port weekly during swimming season. Look for any white, green, or blue discoloration. Early detection helps you address corrosion before it spreads to the pins.
Establish these habits now. Your bone conduction swim player will charge reliably and function properly for many swimming seasons ahead. Prevention through daily care beats expensive repairs every single time.
Final Thoughts
Corroded USB pins do not have to end your swim player’s life. Simple habits protect your device for the long run.
Rinsing with fresh water after every swim session removes salt and chemicals. This small step blocks most corrosion problems before they start.
Drying your device fully before charging matters just as much. Moisture left in the port speeds up damage and shortens battery life.
Skip alcohol and harsh cleaners. These liquids seem helpful but actually break down metal contacts faster than saltwater alone.
Vacuum suction works well for stubborn water in tight spaces. This gentle method pulls out moisture without touching sensitive pins directly.
Watch for early warning signs. Discoloration or a green tint on the pins tells you corrosion has already begun.
Act quickly when you spot these signs. Early cleaning stops minor corrosion from turning into permanent pin damage.
Bluetooth issues underwater are normal and expected. This is not a sign of corrosion, so do not worry about your connection dropping during swims.
If your device won’t power on, check the battery first. Many owners assume corrosion when the real issue is just low charge.
A factory reset often fixes pairing troubles too. Try this simple step before assuming your USB pins are damaged.
Consistency is your best defense. Rinse, dry, and store your device properly every single time you swim.
These small routines take less than five minutes total. Yet they add years to your swim player’s working life.
Bone conduction technology gives you freedom in the water. Protect that freedom by giving your device the care it deserves after every use.
Frequently Asked Questions
What causes USB pins to corrode on swim headphones?
Saltwater and pool chemicals attack the metal on your USB pins. When you swim with bone conduction headphones, water gets into the charging port. Salt and chlorine sit on those pins and cause oxidation. This oxidation looks like a green or white crusty layer. The corrosion blocks the electrical connection between your device and the charger.
How do I know if my USB pins are already corroded?
Look inside the charging port with a flashlight. Corroded pins show discoloration or a crusty coating. Your device might charge slowly or not charge at all. Sometimes the connection feels loose or unstable. You may also notice your headphones won’t power on even after charging overnight.
Can I fix corroded pins myself?
Fixing corroded pins is very difficult. Prevention through proper drying is your best approach. If corrosion already exists, the damage is often permanent. Fresh water rinses and vacuum suction help remove water before corrosion starts. Once the pins corrode, electrical contact becomes unreliable. This is why drying your device completely before charging matters so much.
What’s the safest way to clean my USB port?
Use only fresh tap water for rinsing. Never use alcohol, vinegar, or harsh cleaning solutions on waterproof headphones. After rinsing, pat the device dry with a soft cloth. Apply gentle vacuum suction to the port to remove trapped water. Let your headphones air dry completely in a warm, dry space before plugging in the USB cable.
How long should I air dry my swim player?
Air drying times vary based on humidity and temperature. In warm, dry conditions, complete drying takes 24 to 48 hours. Humid environments need longer drying periods. Wait until you see no moisture inside the port before charging. When in doubt, wait an extra day rather than risk charging a damp device.

Hi, I’m Pearl Standen, the voice behind The Web Utility. I’m a passionate tech enthusiast who loves exploring the latest gadgets, smart devices, and electronics that make everyday life easier. Through my website, I share honest, well-researched reviews of trending Amazon products to help you make smarter buying decisions.