How To Fix Premium Over Ear Headphones With Flaking Leather Ear Pads?
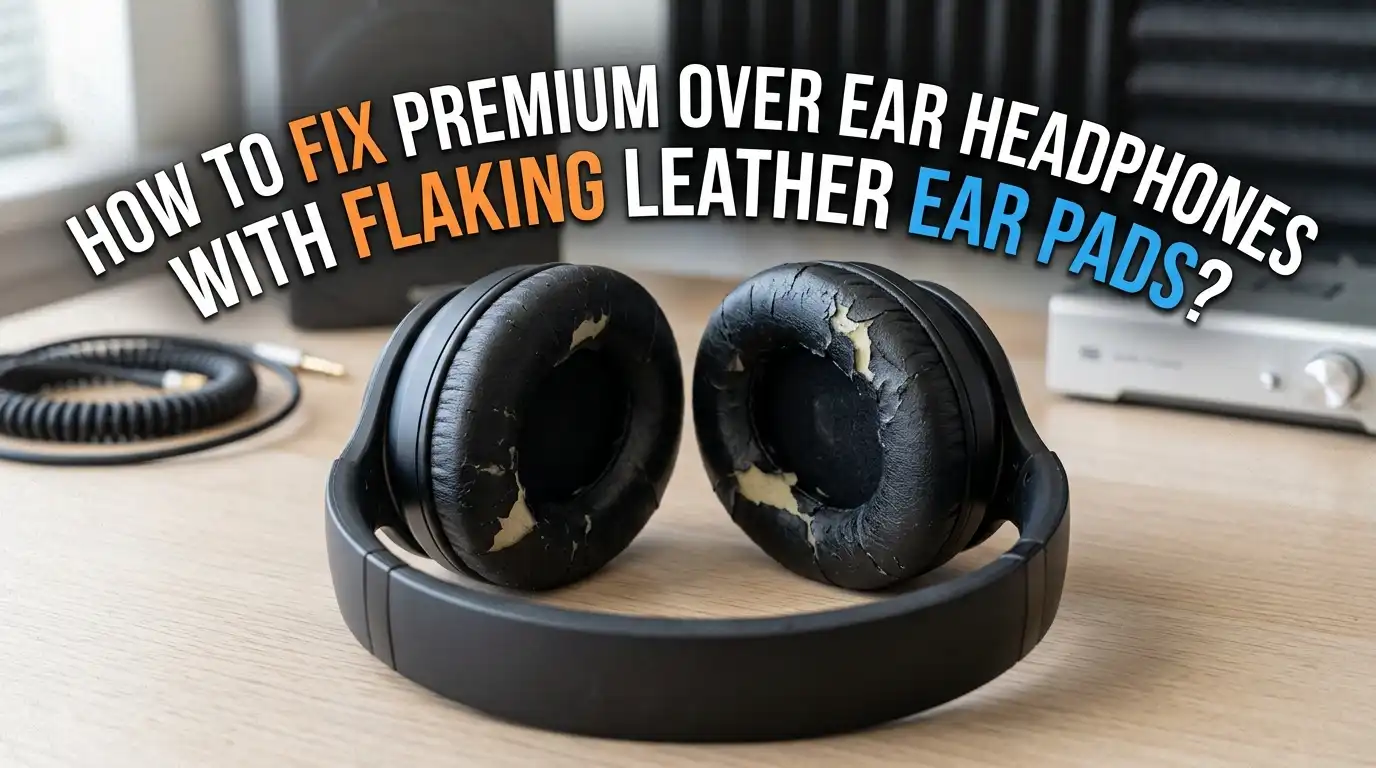
You spent good money on your premium over ear headphones. They sounded amazing on day one. But now, tiny black flakes keep falling onto your shoulders, hair, and clothes every time you wear them. The leather ear pads are peeling, cracking, and crumbling apart. It looks terrible. It feels worse.
This is one of the most common frustrations for headphone owners. Whether you own a pair from Sony, Bose, Sennheiser, or Beats, the leather or faux leather ear pads will eventually start to flake.
It happens because of sweat, humidity, heat, body oils, and simple aging. The good news? You do not need to throw your headphones away. You do not need to spend hundreds on a brand new pair.
Key Takeaways
- Flaking is caused by material breakdown. Most premium headphones use PU (polyurethane) leather or protein leather for the ear pads. These synthetic materials break down over time due to sweat, heat, humidity, and UV exposure. Even expensive headphones are not immune to this problem.
- Temporary fixes can buy you time. If you are not ready to replace the ear pads right away, you can use fabric covers, stockings, or vinyl glue to stop the flaking temporarily. These methods are fast and cheap, but they do not restore the original look or comfort level.
- Replacing the ear pads is the best long term solution. Aftermarket replacement ear pads are widely available for most popular headphone models. The replacement process usually takes less than 10 minutes and costs a fraction of buying new headphones.
- The material you choose matters. You can upgrade from standard PU leather to velour, genuine sheepskin leather, cooling gel pads, or hybrid materials. Each material has different strengths for comfort, durability, and sound isolation.
- Prevention extends the life of new pads significantly. Simple habits like wiping your pads after use, storing headphones away from heat and sunlight, and using a leather conditioner can double or triple the lifespan of your ear pads.
- Sound quality improves with fresh pads. Worn and flattened ear pads break the acoustic seal around your ears. This causes bass loss and reduced noise isolation. New pads restore the full sound signature your headphones were designed to deliver.
Why Do Leather Ear Pads Start Flaking
The flaking you see on your headphone ear pads is the outer coating breaking apart. Most premium headphones use PU leather or protein leather, which are synthetic materials designed to mimic the look and feel of real leather. These materials have a polyurethane coating that degrades over time.
Sweat is the number one enemy. Your skin produces moisture, oils, and salt during wear. These substances slowly eat away at the PU coating. Heat from your ears accelerates the chemical breakdown. Humidity in your environment adds even more moisture to the equation.
UV exposure from sunlight also weakens the material. If you leave your headphones near a window, on a car dashboard, or under direct light, the coating dries out and cracks faster. Most PU leather ear pads last between 12 and 24 months with regular use before they start peeling.
How To Assess the Damage Before Choosing a Fix
Before you pick a repair method, take a close look at your ear pads. The right solution depends on how far the damage has gone. There are different stages of wear, and each one calls for a different approach.
If only the surface coating is peeling but the foam underneath still feels firm and bouncy, you can try a temporary repair. A fabric cover or new leather coating can extend the life of the pads for several more months.
If the foam has gone flat, hard, or compressed, no surface fix will help. The ear pads have lost their ability to provide comfort and maintain a proper acoustic seal. At this stage, full replacement is the only effective solution. Also check for bad odor. If the pads smell even after cleaning, bacteria and sweat have soaked deep into the foam.
The Quick Fabric Cover Method
This is the fastest and cheapest fix for flaking ear pads. You can do it in under five minutes with items you already have at home. The idea is simple: cover the flaking pads with a thin, stretchy fabric so the flakes stay contained and never touch your skin or hair.
Grab a pair of old stockings or tights. Cut off the toe section and trim it into two circular pieces. Place each circle over an ear pad and secure it with a small rubber band around the edge. Pull the fabric tight so it sits smooth against the pad surface. Trim any excess fabric hanging past the rubber band.
The sound quality stays nearly the same because the fabric is thin enough to let audio pass through. However, the pads will look different and the rubber band may feel slightly noticeable during long sessions.
Pros: Costs nothing, takes 30 seconds, stops flakes immediately, does not change sound much.
Cons: Looks unofficial, rubber bands can slip, does not fix the underlying damage, comfort may decrease slightly.
Using Washable Fabric Ear Pad Covers
A step up from the stocking method is using purpose made fabric ear pad covers. These are stretchable cloth sleeves designed to fit over headphone ear cushions. They come in various sizes to match different headphone models.
You simply stretch the cover over the existing ear pad. Most covers use an elastic edge that grips the pad firmly without needing rubber bands or glue. They are machine washable, which helps with hygiene. The fabric absorbs sweat instead of letting it soak into the pad material.
These covers work well as both a fix for current flaking and a preventive measure on new pads. Many people put them on brand new replacement pads right away to protect the material from day one.
Pros: Clean look, washable, absorbs sweat, protects new pads, easy to install.
Cons: Can slightly muffle high frequencies, adds a small layer of thickness, may reduce passive noise isolation on some models.
Applying Vinyl Glue To Stop Surface Peeling
If the peeling is mild and limited to small areas, you can slow it down with a thin layer of clear vinyl glue or fabric glue. This method works best on pads where only a few spots are starting to lift.
First, gently peel away any loose flakes that are already coming off. Clean the surface with a slightly damp microfiber cloth and let it dry completely. Then apply a very thin, even layer of clear vinyl adhesive over the damaged areas. Let it cure for the time listed on the product label, usually a few hours.
The glue creates a new protective layer that holds the remaining coating in place. It will not look perfect, but it can add several weeks or even months of usable life to your pads.
Pros: Cheap, quick, extends pad life, no visible rubber bands or covers.
Cons: Temporary fix only, glue can feel tacky if applied too thick, surface will not look like new, eventually the peeling will resume.
Replacing the PU Leather Coating on Existing Foam
This method is for people who enjoy hands on DIY projects. If the foam inside your ear pads is still in great shape but the outer leather coating has failed, you can replace just the coating.
Remove the ear pad from the headphone. Carefully peel off all the remaining PU leather from the foam. Purchase a small sheet of PU leather or protein leather fabric from a craft store or online. Place your old pad on the fabric and trace the shape, leaving extra material around the edges for folding and stitching.
Cut the fabric to size. Wrap it around the foam and sew the edges together using a needle and thread. Some people use fabric glue instead of stitching. Once done, reattach the pad to the headphone cup.
Pros: Saves the original foam, much cheaper than buying new pads, satisfying DIY project.
Cons: Requires sewing skills, time consuming, finished result may look uneven, not suitable for complex pad shapes.
How To Replace Ear Pads Completely
Full ear pad replacement is the most effective and popular solution. Aftermarket ear pads are available for almost every major headphone brand and model. The process is simple enough for anyone to do at home without any tools.
Start by identifying your exact headphone model. Search for replacement ear pads that match that model. Once you have the new pads, gently pull the old ones off the headphone cups. Most ear pads are attached with clips, grooves, or light adhesive. A slow, firm tug usually does the trick.
Clean the ear cup underneath with a dry or slightly damp cloth. Remove any leftover adhesive or debris. Then align the new pad with the cup and press it into place. Work around the edges to make sure the pad snaps or slides securely into the mounting groove. The entire process takes less than 10 minutes.
Pros: Restores full comfort and sound quality, looks brand new, wide selection of materials and brands, affordable.
Cons: You need to find the correct model match, some pads use proprietary attachment systems, quality varies between manufacturers.
Choosing the Right Ear Pad Material for Your Replacement
One of the benefits of replacing your ear pads is the opportunity to upgrade the material. You are not limited to the same type of pad your headphones came with. Here are the main options.
PU leather is the most common and affordable option. It provides good noise isolation and a sleek look. However, it is the same material that flaked in the first place, so it will eventually wear down again.
Protein leather is a higher quality synthetic that feels softer and more like real leather. It tends to last longer than standard PU leather but still degrades over time.
Genuine sheepskin leather is the most durable option. Real leather does not peel or flake the way synthetic coatings do. It ages gracefully and can last for years with proper care. It is also the most expensive choice.
Velour and fabric pads offer excellent breathability. They stay cool during long sessions and are great for people who sweat a lot or wear glasses. They do not isolate sound as well as leather options.
Cooling gel pads contain a layer of gel that absorbs heat. They are ideal for gaming marathons or long work sessions in warm environments.
How To Remove Stubborn Ear Pads Safely
Some headphone models use ear pads that seem glued on permanently. Removing them without damage requires patience and the right technique.
Start by finding the edge of the pad where it meets the ear cup. Use your fingernail or a thin plastic tool like a guitar pick to gently lift the edge. Never use a metal tool because it can scratch the plastic housing or damage the driver underneath.
Work slowly around the entire perimeter, lifting a small section at a time. If the pad is held on by adhesive tape, apply gentle heat with a hair dryer on low setting for about 30 seconds. The warmth softens the glue and makes removal much easier. Once the pad is off, clean any sticky residue from the cup with a damp cloth.
Some models use a plastic mounting ring that snaps into the cup. In this case, you need to pry the ring out along with the pad. Keep the ring because your replacement pads may need it for proper installation.
How To Condition and Protect New Leather Ear Pads
Once you have fresh ear pads installed, you want them to last as long as possible. Regular conditioning is one of the best ways to prevent premature flaking on both real and synthetic leather.
For genuine leather pads, apply a small amount of leather conditioner every two to three months. Use a soft cloth to rub it in gently. The conditioner keeps the leather supple and prevents drying and cracking. Even a tiny drop of coconut oil on a microfiber cloth works as a simple alternative.
For PU leather and protein leather pads, some people use a finished leather protector spray. This adds a thin barrier against moisture and body oils. However, avoid using alcohol based cleaners, disinfectant wipes, or harsh chemicals. These strip the protective coating and speed up the peeling process.
Wipe your pads with a dry or slightly damp cloth after every use session. This removes sweat, oils, and dirt before they can soak in. It is the single most effective habit you can adopt for pad longevity.
Proper Storage Habits That Prevent Ear Pad Damage
How you store your headphones has a direct impact on how long the ear pads last. Many people overlook this, but simple storage changes make a big difference.
Keep your headphones in a case or pouch when you are not using them. This protects the pads from dust, sunlight, and temperature changes. Never leave headphones on a windowsill, in a car, or near a heat source like a radiator or lamp. Heat and UV light are the two biggest environmental enemies of PU leather.
Hang your headphones on a stand in a cool, dry area if you do not have a case. Avoid stacking heavy objects on top of them because pressure flattens the foam faster. If you live in a humid climate, consider storing a small silica gel packet near your headphones to absorb excess moisture.
When To Seek Professional Repair or Warranty Help
Sometimes the flaking problem goes beyond what a DIY fix can solve. If your headphones are still under warranty, contact the manufacturer before attempting any repairs. Many brands will send replacement pads at no cost or offer a discounted repair service.
Some premium brands have authorized service centers that can professionally repad your headphones with high quality materials. This option costs more than doing it yourself, but the result is clean and reliable.
If your headphones are a high end audiophile model, professional repadding may be worth the investment. Custom leather work from specialists can give your headphones a premium finish that lasts for years. Communities like Head Fi and Reddit often have recommendations for trusted repair services.
Long Term Tips To Make Ear Pads Last Much Longer
Prevention is always cheaper than repair. Here are proven habits that extend ear pad life significantly and keep your headphones looking and feeling fresh.
Clean your ear pads after every use with a soft, dry cloth. This takes five seconds and removes the sweat and oils that cause material breakdown. Do not wear your headphones right after intense exercise or while your face and ears are still sweaty.
Rotate between two pairs of headphones if you use them daily. This gives each pair time to air out and dry between sessions. Store your headphones in a cool, shaded location away from direct sunlight and heat sources.
Apply leather conditioner to real leather pads every few months. For synthetic pads, consider adding fabric covers from day one. Replace your ear pads proactively every 12 to 18 months rather than waiting for them to fall apart. Fresh pads maintain comfort, hygiene, and the full acoustic performance your premium headphones were built to deliver.
Frequently Asked Questions
Why do expensive headphone ear pads still flake and peel?
Most premium headphones use PU leather or protein leather, which are synthetic materials with a polyurethane coating. This coating breaks down naturally from exposure to sweat, body oils, humidity, heat, and UV light. The price of the headphones does not change the chemistry of the material. Even headphones costing several hundred dollars will experience this issue after 12 to 24 months of regular use.
Can I use super glue to fix peeling headphone ear pads?
Super glue is not recommended for ear pad repair. It dries hard and rigid, which makes the pad uncomfortable against your skin. It can also release fumes and cause the surrounding material to crack even faster. A clear vinyl glue or fabric adhesive is a much safer and more flexible option for minor surface peeling.
Do replacement ear pads change the sound of my headphones?
Yes, they can. Ear pads affect the distance between the driver and your ear, the acoustic seal, and sound reflection inside the cup. Thicker pads may slightly alter the sound signature. However, most users find that fresh pads actually improve sound because they restore the proper seal and bass response that worn pads had lost.
How often should I replace headphone ear pads?
With regular daily use, most ear pads last between 12 and 18 months before they show significant wear. Heavy users who sweat a lot or live in hot, humid climates may need to replace them sooner. Genuine leather pads tend to last longer than PU or protein leather pads when properly maintained.
Are velour ear pads better than leather for preventing flaking?
Velour and fabric pads do not flake because they have no synthetic coating to break down. They are an excellent choice if flaking is your biggest concern. However, they provide less noise isolation than leather pads and can absorb more dust and sweat into the fabric over time. They are best suited for home use or studio environments where noise isolation is less important.
Can I put fabric covers on brand new ear pads to prevent future flaking?
Absolutely. Washable fabric covers are one of the best preventive measures you can take. They absorb sweat before it reaches the pad material and can be removed and washed regularly. This keeps the actual ear pad clean and dry, which significantly slows down the degradation process and extends the overall lifespan of your new pads.

Hi, I’m Pearl Standen, the voice behind The Web Utility. I’m a passionate tech enthusiast who loves exploring the latest gadgets, smart devices, and electronics that make everyday life easier. Through my website, I share honest, well-researched reviews of trending Amazon products to help you make smarter buying decisions.