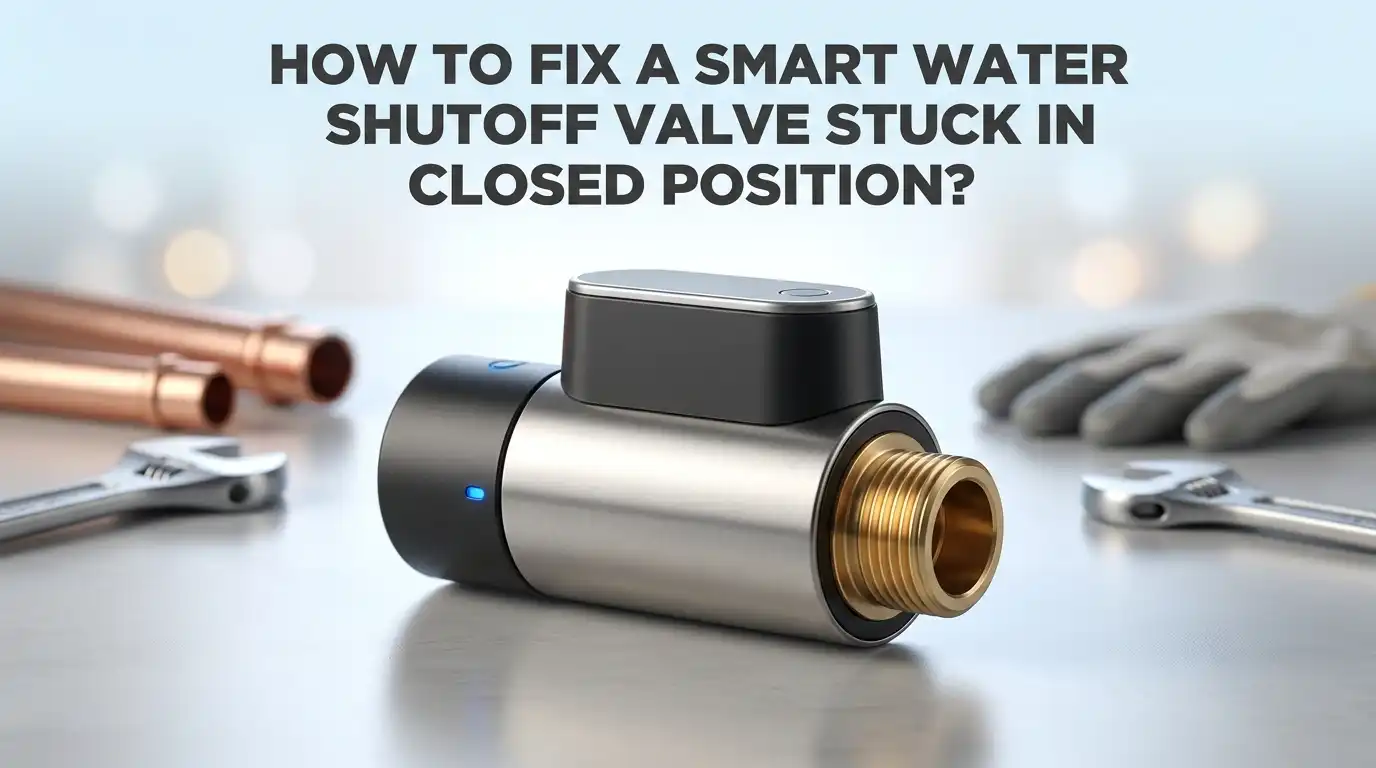
How To Fix A Smart Water Shutoff Valve Stuck In Closed Position?
A stuck smart water shutoff valve can turn a simple task into a real headache. You try to turn the handle, but it won’t budge. This usually happens when the rubber seat inside dries out or lime deposits build up over time.
The good news? You can often fix this problem yourself. No need to call a plumber right away or replace the whole unit.
This guide walks you through simple, proven steps to get your valve moving again. You’ll learn how to turn off your main water supply safely first. Then we’ll show you the right way to apply lubricant and give it time to work.
In a Nutshell
- Main Cause: A stuck valve often happens when the rubber seat dries out or gathers lime buildup over time.
- First Steps: Always turn off the main water supply and drain the lines before touching the valve.
- Lubrication Matters: Apply a lubricating oil to the handle and let it soak for at least 10 minutes before trying to move it.
- Movement Technique: Wiggle the handle gently in both directions. If it stays stuck, Channellock pliers can add extra leverage.
- Rotation Fix: Turn the valve clockwise for a half-turn, then switch direction and rotate counter-clockwise to loosen it fully.
- Avoid These Mistakes: Never force the valve, skip the soak time, or use quick jerky movements. These actions can crack the internal parts.
- Backup Option: If lubricant and wiggling don’t work, try loosening the top nut on the valve body for extra freedom of movement.
Why Smart Water Shutoff Valves Get Stuck Closed
Smart water shutoff valves get stuck closed for several common reasons. Understanding what causes this problem helps you prevent it in the future.
Mineral buildup is the most frequent culprit. Lime and calcium deposits accumulate inside the valve over time. These minerals settle on the rubber seat and valve components. Hard water areas experience this problem more often than soft water regions.
The rubber seat dries out when water sits inside the valve for extended periods. This rubber component loses its flexibility and becomes brittle. Once brittle, it cannot seal properly or move smoothly. The valve then refuses to budge when you try to operate it.
Corrosion attacks metal parts within the valve mechanism. Rust forms on internal components and creates friction. This friction prevents the handle from turning easily. Older valves are more susceptible to corrosion damage.
Lack of maintenance contributes significantly to valve problems. Valves that never get exercised become stiff over time. Moving the handle occasionally keeps internal parts lubricated and functional. A valve that sits unused for years will likely stick.
Temperature fluctuations cause metal parts to expand and contract. This constant movement can loosen components or create binding points. Valves installed in unheated spaces suffer from this issue more than others.
Debris and sediment from your water supply can lodge inside the valve. Small particles get trapped in tight spaces. They create blockages that prevent smooth operation.
Manufacturing defects occasionally cause valves to stick from day one. Poor quality control or design flaws result in faulty units. Some valves simply come with internal problems that surface quickly.
Recognizing these causes helps you fix stuck valves and avoid future problems.
Signs Your Valve Is Stuck Versus Malfunctioning Electronically
A stuck valve and an electronically malfunctioning valve show different warning signs. Knowing the difference helps you fix the right problem.
A physically stuck valve feels resistant when you try to turn the handle. You’ll sense mechanical resistance. The handle won’t budge even with gentle pressure. You might hear a grinding or scraping sound when attempting movement. The valve body itself remains cool to the touch. Water still flows normally through your pipes before the valve.
An electronic malfunction displays different symptoms. The valve handle moves freely but water doesn’t stop flowing. Your smart app shows the valve as closed, yet water continues running. You hear clicking sounds from the valve body when you try to operate it remotely. The electronic display or app shows error codes or connection failures. The valve may cycle on and off unpredictably without your input.
To test which problem you have, try this simple check. Manually attempt to turn the handle by hand. If the handle won’t move at all, you have a physical blockage. If the handle turns easily but water keeps flowing, the electronics aren’t responding.
Physical sticking means mineral deposits or corrosion trapped the internal parts. This requires the lubrication and gentle wiggling approach. Electronic failure means the solenoid or control board isn’t working properly. This typically requires professional service or component replacement.
Understanding which issue affects your valve saves time and frustration. Physical sticking problems respond well to do-it-yourself solutions. Electronic failures need different expertise. Identifying the correct problem first ensures you use the right fix for your situation.
Preparing Your Plumbing System Before Attempting A Fix
Before you attempt to fix your stuck smart water shutoff valve, you need to prepare your plumbing system properly. This preparation step protects both your home and ensures the repair process goes smoothly.
Start by locating your main water supply valve. This is typically found where the water line enters your home from the street. You may find it in your basement, crawlspace, or outside near your foundation. Take time to identify this valve now so you know exactly where it is when you need it.
Turn off the main water supply completely. Rotate the handle clockwise until it stops. You should feel resistance, but do not force it. This action stops water from flowing through your entire plumbing system.
Next, you need to empty all the water currently sitting in your pipes. Open the lowest faucet in your home, usually a basement sink or outdoor spigot. Let water drain until it stops flowing. This step is crucial because it relieves pressure from your plumbing lines and prevents water from spraying when you work on the valve.
Open a faucet on an upper floor as well. This allows air to enter the system and helps water drain completely. Leave these faucets open while you work.
Check that no water is running anywhere in your home. Listen for sounds of flowing water. Wait a few minutes to ensure everything has drained.
Gather your tools and supplies before starting the actual repair. Have them ready nearby so you are not scrambling mid-repair. This preparation prevents frustration and keeps your work organized and efficient.
Step-by-Step Guide To Freeing A Stuck Valve
Now that your plumbing system is ready, you can begin freeing your stuck valve. This process requires patience and the right approach to avoid causing additional damage.
Start by applying lubricating oil directly to the valve handle and around the stem area. Spray or pour the oil generously so it penetrates the stuck mechanism. Common options include penetrating oils that break down mineral deposits and corrosion. Let the oil sit for at least 10 to 15 minutes before attempting any movement.
After the soak period, gently wiggle the handle back and forth in small motions. Don’t force it. Use slow, controlled movements to test if the valve is loosening. This gentle wiggling helps the lubricant work into the tight spaces where deposits have accumulated.
If the handle still won’t budge, apply more oil and wait another 10 minutes. Multiple applications often work better than a single attempt. Patience is your best tool here.
Once you feel some give, try rotating the handle clockwise at least a half turn, then counter-clockwise. These small rotations gradually break the seal created by mineral buildup. Continue this rocking motion slowly until the handle moves more freely.
If you need additional leverage, use a pipe wrench or adjustable pliers on the handle. Grip firmly but don’t apply sudden force. Steady, gradual pressure works best.
Some valves respond better when you loosen the top nut on the valve body slightly. This reduces internal pressure and can help free the stuck mechanism. Turn it just a quarter turn, not more.
Stop immediately if you hear cracking sounds or feel extreme resistance. Continuing could break the valve permanently.
Using Lubricants And Tools Safely And Effectively
Lubricants work best when you apply them correctly and give them time to penetrate. Start by spraying or pouring lubricating oil directly onto the valve handle and around the stem where it connects to the valve body. Generous application matters more than you might think.
Let the oil soak for at least 10 minutes before you attempt any movement. This waiting period allows the lubricant to work into tight spaces and break down mineral deposits or corrosion. Patience during this step prevents damage to your valve.
After the soak time, gently wiggle the handle back and forth using small motions. Keep your movements slow and controlled. Jerky or rapid movements can strip internal parts or cause the handle to snap. If resistance remains, apply more oil and wait another 10 minutes.
When you feel the handle starting to loosen, try rotating it clockwise at least a half turn, then counter-clockwise. These alternating movements help free stuck internal components without forcing them.
For additional leverage, use adjustable pliers or a pipe wrench on the handle itself. Grip firmly but avoid twisting with maximum force. Let the tool do the work while you maintain steady pressure.
Multiple applications of lubricant improve your success rate significantly. Some stuck valves require three or four applications spread over 30 to 60 minutes before they respond.
If the handle still resists after several attempts, try loosening the top nut on the valve body slightly. This reduces pressure on internal parts. Never skip the lubricant soak period or rush through these steps. Taking your time prevents costly damage and increases your chances of success.
Mistakes That Can Damage The Valve Or Void Your Warranty
When you work on a stuck smart water shutoff valve, certain mistakes can cause permanent damage or cancel your warranty coverage. Understanding what NOT to do is just as important as knowing the correct steps.
Forcing the valve with excessive pressure is the biggest mistake. Many people grab the handle and pull hard, thinking brute force will solve the problem. This approach cracks the internal components and breaks the seal. Once that happens, you cannot repair it. The valve must be replaced entirely.
Skipping the lubricant soak period creates another common problem. Some people spray oil on the handle and immediately try to move it. The lubricant needs time to penetrate the stuck areas and break down mineral deposits. Wait at least 10 minutes before applying any pressure. Rushing this step almost always fails.
Rapid or jerky handle movements damage the valve stem. The stem is delicate and can snap if you jerk the handle suddenly. Always use slow, gentle motions. Small back and forth wiggles work better than one big yank.
Using the wrong tools also voids warranties. Hammers, pliers with sharp edges, or oversized wrenches can scratch the valve body and crack fittings. Stick to adjustable pliers or pipe wrenches designed for this purpose.
Heat guns or blow torches should never be used on smart valves. These devices contain electronic components that melt or short circuit when exposed to high temperatures.
Finally, do not loosen multiple bolts at once. If you need to loosen the top nut on the valve body, only adjust that single nut slightly. Removing several bolts at once causes leaks and structural failure.
Troubleshooting When The Valve Still Won’t Budge
When your smart water shutoff valve refuses to move despite your initial efforts, you need a different approach. The valve may have mineral buildup that requires extra time and patience to break down.
Start by checking if you’ve applied enough lubricant. Many people use just one small spray and expect results. Instead, generously coat the handle, stem area, and any visible joints. The oil needs to seep into tight spaces where minerals have accumulated. Let it sit for at least 15 to 20 minutes on stubborn valves.
After the soak period, try a different wiggling technique. Instead of moving the handle side to side, rotate it very slightly in both directions. Make quarter turn movements. This action helps break the mineral seal without shocking the internal components. Work slowly and deliberately.
If the handle still won’t budge, reapply the lubricant and wait another 10 minutes. Sometimes multiple applications work better than one heavy coat. The oil gradually penetrates deeper into the stuck mechanism.
Consider loosening the packing nut on top of the valve body. This small nut sits where the handle connects to the valve. Loosen it just a quarter turn. This reduces pressure on the stem and sometimes frees up movement. Tighten it back once the handle moves freely.
If you still have no success after these steps, the internal rubber seat may be severely damaged. At this point, you might need professional help or valve replacement. Never force the handle with all your strength. Excessive pressure breaks the stem and causes permanent damage.
Maintaining Your Smart Valve To Prevent Future Sticking
Regular maintenance stops your smart water shutoff valve from getting stuck in the first place. Prevention is far easier than fixing a frozen valve later.
Check your valve every three months. Turn the handle slowly through its full range of motion. This keeps the internal parts moving freely and prevents mineral buildup from hardening inside. You don’t need to fully open and close it. Just gentle, controlled movements work best.
Flush your water lines twice yearly. Sediment and lime deposits accumulate over time, especially in areas with hard water. Flushing removes these particles before they settle on the rubber seat inside your valve. This simple step adds years to your valve’s lifespan.
Keep the valve handle dry and clean. Moisture promotes rust and corrosion on metal parts. Wipe away any water droplets you notice around the handle or valve body. A dry valve operates smoothly and resists sticking.
Monitor water pressure in your home. High pressure forces minerals and debris into tight spaces within the valve. If your pressure exceeds 80 PSI, consider installing a pressure regulator. This protects all your water fixtures, not just the shutoff valve.
Apply a light coat of lubricating oil around the handle connection once every six months. This keeps joints flexible and prevents the handle from seizing. Use only small amounts to avoid attracting dust and debris.
Test your valve’s operation during low usage periods. Early morning or late evening works well. You’ll catch any stiffness before the valve becomes completely immobile. Quick action at the first sign of resistance prevents total lockup.
Final Thoughts
A stuck smart water shutoff valve feels frustrating, but most fixes are simple. The rubber seat inside dries out or collects lime deposits over time. This causes the handle to freeze in place.
Start with patience. Turn off your main water supply first. Empty the water lines before you touch the handle.
Lubricant is your best friend in this situation. Apply it generously to the stuck area. Let it soak for at least ten minutes before you try anything else.
Wiggle the handle gently once the soak time passes. Move it slowly in both directions. This gentle motion loosens rust and grime without breaking parts.
If the handle stays stuck, grab a pair of Channellock pliers. They give you extra leverage without damaging the valve. Rotate clockwise first, then counter clockwise.
Remember this simple rule: slow and steady wins the fight. Rushing the process almost always makes things worse. A broken valve costs more time and money than a slow fix.
Most homeowners solve this problem within thirty minutes. The combination of lubricant, patience, and gentle pressure works for the vast majority of cases.
Some valves need extra attention beyond basic wiggling. Loosening the top nut sometimes frees a stubborn valve. This step requires care, but it often does the trick.
Your smart water shutoff valve protects your home from water damage. A little time spent fixing it now saves bigger headaches later. Keep your tools handy and your approach calm.
Every stuck valve has a solution. With the right technique and enough patience, you will get that handle moving again. Your water system will work smoothly once more.
Frequently Asked Questions
Why does my smart water shutoff valve get stuck in the closed position?
The rubber seat inside your valve dries out over time. Lime deposits and sediment also build up, especially if you have hard water. These deposits create friction that prevents the handle from moving freely.
What should I do first when the valve won’t open?
Turn off your main water supply immediately. Empty the water lines by opening a faucet. This reduces pressure inside the valve. Then apply lubricating oil around the handle and let it soak for at least 10 minutes.
How do I gently move a stuck handle?
After the soak period, wiggle the handle slowly in both directions. Use small, gentle movements. Avoid jerking or forcing the handle with sudden pressure. If it resists, apply more oil and wait another 10 minutes before trying again.
When should I use pliers on the valve?
Only use pliers after gentle wiggling fails. Grab the handle with Channellock pliers for extra grip and leverage. Rotate the handle clockwise at least half a turn, then counter clockwise. This back and forth motion helps break up deposits inside.
What if lubricant and wiggling don’t work?
Try loosening the packing nut on top of the valve body. This nut sits where the handle connects to the main valve. Loosen it slightly to reduce friction. If nothing works after multiple attempts, the internal rubber seat may need professional repair.

Hi, I’m Pearl Standen, the voice behind The Web Utility. I’m a passionate tech enthusiast who loves exploring the latest gadgets, smart devices, and electronics that make everyday life easier. Through my website, I share honest, well-researched reviews of trending Amazon products to help you make smarter buying decisions.