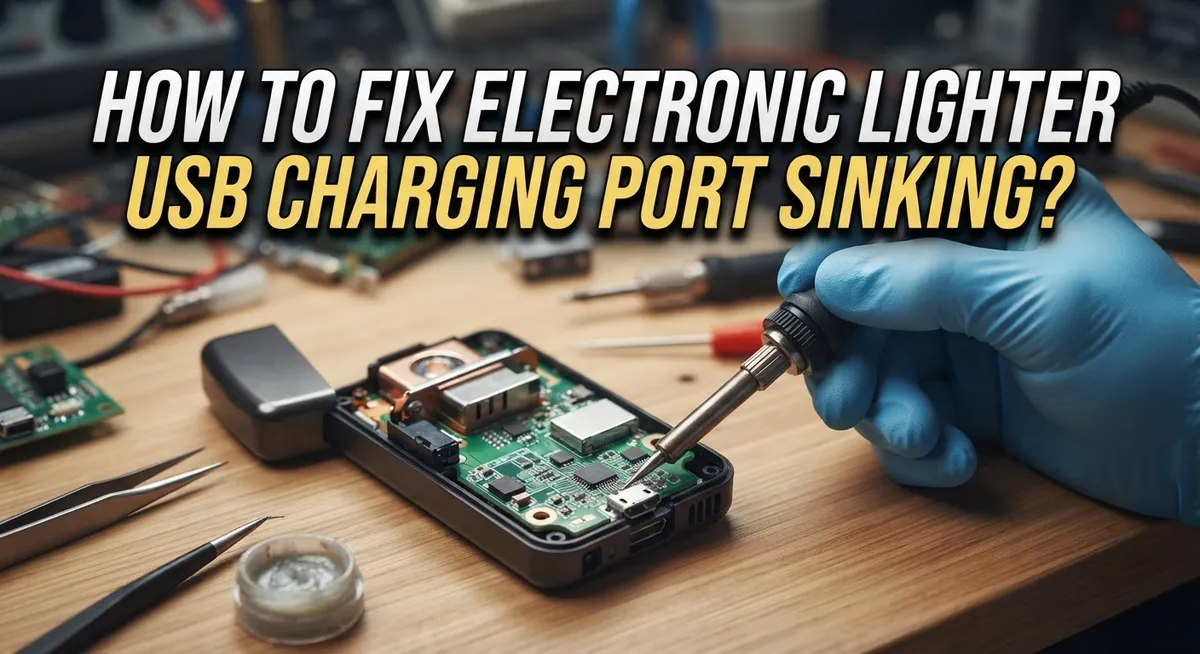
How To Fix Electronic Lighter USB Charging Port Sinking?
Does your electronic lighter feel loose when you plug it in? A sinking USB charging port is a common problem. It can leave you frustrated and without power at the worst time.
This issue happens for a few reasons. Debris buildup is often the culprit. Sometimes the internal connection just wears out over time.
The good news? You can often fix this yourself. You do not need to be an expert to solve it.
This guide will show you simple, safe steps to fix a sinking port. We will cover how to clean out dust and grime properly. You will learn the best tools to use for the job.
We also explain a clever trick using shrink tube. This helps tighten a loose connection instantly. It works like magic for many users.
We will also point out mistakes to avoid. Using the wrong tool can cause more damage. Metal objects, for example, are a big risk.
By the end of this article, you will know exactly how to get your charger working again. Let’s get your port back in shape.
In a Nutshell
A sinking USB port is fixable with a few careful steps. Here is a quick summary to help you act fast.
-
Clean first: Use compressed air to blow out dust and debris from the port. This often solves loose connection problems right away.
-
Skip metal tools: Never use metal toothpicks or paperclips inside the port. They can damage the tiny internal contacts and make things worse.
-
Try a plastic flosser: A plastic flosser toothpick is a safer choice. It clears gunk without harming delicate parts.
-
Use the shrink tube trick: Wrap a small piece of shrink tube with electrical tape. Gently insert it into the loose port to tighten the fit.
-
Reglue loose ports: If the port has separated from the base, a bit of glue can reattach it securely.
-
Test your work: Always plug in a power bank after any fix. This confirms your charger connects and charges properly again.
If these steps do not work, it may be time to call a professional for help.
Understanding Why USB Charging Ports Sink Over Time
USB charging ports sink over time due to several physical and environmental factors. Understanding these causes helps you prevent future damage and fix existing problems more effectively.
Loose internal connections form the primary reason ports sink. Each time you insert and remove a charger, the metal contacts inside wear down slightly. After hundreds of uses, these contacts lose their grip on the charging cable. The port feels wobbly, and your charger no longer stays firmly in place.
Debris buildup accelerates port degradation. Dust, lint, and small particles collect inside the port opening. This buildup pushes the port downward or creates gaps between the cable and contacts. Your charger cannot make a solid electrical connection, so charging fails or becomes unreliable.
Heat exposure weakens the plastic housing around the port. Electronic lighters generate warmth during use and charging cycles. Repeated heating softens the plastic material that holds the port in position. Over time, this softened plastic allows the port to sink deeper into the lighter’s body.
Manufacturing tolerances also play a role. Some ports arrive slightly loose from the factory. Combined with normal wear, this initial looseness becomes worse quickly. The port may never have held your charger securely from day one.
Physical damage from rough handling causes immediate sinking. Dropping your lighter or applying too much pressure when plugging in the charger can bend internal components. A bent port sits lower than it should, making proper contact impossible.
These factors often work together. A port with loose connections plus debris buildup sinks faster than one affected by just one problem. Recognizing what causes sinking helps you choose the right repair method and avoid repeating the same mistakes.
Tools You’ll Need Before Starting the Repair
Before you start fixing your electronic lighter’s USB charging port, gather the right tools. Having everything ready makes the repair faster and safer.
Compressed air is your first essential tool. A can of compressed air blows out dust and debris stuck inside the port. This often solves the sinking problem without any physical contact. Keep the can upright and use short bursts to avoid liquid spray.
A plastic flosser toothpick comes next. This tool safely clears stubborn particles from the port opening. The plastic material won’t scratch or damage the delicate internal contacts like metal tools would. Metal paperclips and metal toothpicks can cause serious harm, so avoid them completely.
You’ll need electrical tape for the shrink tube method. Wrap small pieces of tape around a shrink tube to create a custom spacer. This spacer helps tighten loose connections when inserted into the port. The tape prevents the tube from slipping around inside.
A soft bristled brush works as a backup cleaning option. Use it gently around the port edges to remove surface debris. Never force it into the port opening.
Adhesive or epoxy glue helps if the port has physically separated from the lighter’s body. Choose a strong bonding agent that works on plastic and metal. Follow the glue’s instructions for drying time.
Finally, keep a power bank nearby for testing. After completing your repair, test the connection immediately. This confirms your fix actually works before you rely on the lighter for regular charging.
Gather these tools in one spot before beginning. Organization prevents frustration and keeps you focused on the repair work ahead.
Step-by-Step Guide to Cleaning a Sinking USB Port
Start by powering off your electronic lighter completely. This prevents electrical damage during cleaning.
Hold the lighter with the USB port facing downward. Use compressed air in short bursts to dislodge loose particles. Keep the can upright and maintain distance of about 2 inches from the port opening. This method removes dust without physical contact.
If debris remains visible, grab your plastic flosser toothpick. Insert it gently into the port at a slight angle. Move it slowly side to side without forcing it deeper. The plastic material won’t scratch internal contacts like metal tools would. Repeat this step 2 to 3 times until you see no more particles.
For stubborn buildup, use a soft bristled brush. Angle the bristles into the port opening and make gentle circular motions. Apply minimal pressure. This approach works well for compacted lint or residue.
After cleaning, inspect the port opening with good lighting. Look for any remaining debris inside. If you spot anything, use compressed air again to clear it out.
Now test the connection. Plug in your charger slowly and check if it sits flush against the port. The plug should feel snug without wobbling.
If the port still feels loose after cleaning, the internal connection may be damaged. This indicates you need the shrink tube method or professional repair.
Always let the lighter dry completely before attempting to charge it. Moisture inside the port creates connection problems and potential short circuits.
Document any changes you notice. If the port works better but still feels slightly loose, you’ve made progress and can move to the next repair stage.
How to Tighten a Loose Port Using the Shrink Tube Method
The shrink tube method works by adding material inside your port to create a tighter grip on the charging connector. This technique addresses the core problem: a loose internal connection that prevents your charger from staying in place.
Here’s how to execute this method properly. First, wrap electrical tape around a small piece of shrink tubing. The tape acts as a protective layer that prevents the shrink tube from damaging delicate internal contacts. Make sure your wrapping is smooth and even.
Next, carefully insert the wrapped shrink tube into your USB port opening. Push it in gently until it sits snugly inside. The goal is to create additional friction without forcing anything. You want the tube to rest against the port walls naturally.
Test the fit by inserting your charging cable slowly. The cable should meet slight resistance as it enters. If it goes in too easily, your shrink tube needs adjustment. Remove it and add another layer of electrical tape for more thickness.
Once you achieve the right tension, leave the shrink tube in place permanently. It will stay inside the port and create that gripping action every time you charge. This method works because it fills the gap between your connector and the port walls.
Important note: Do not use heat or lighters to shrink the tubing. This creates safety hazards and can damage your lighter. The electrical tape alone provides enough grip without heat application.
After installation, test your connection with a power bank. Plug and unplug several times to confirm the charger stays secure. If the cable still slides around, you may need professional repair services.
Reattaching a Detached or Fully Sunken Port
When your USB port has physically detached or sunk completely into the lighter’s body, you need a different approach than simple cleaning. This situation requires reattachment or repositioning to restore function.
First, assess the damage carefully. Look at whether the port is still connected internally or completely separated. If it’s fully detached, you’ll see a gap between the port and the lighter’s housing. A sunken port may still have internal connections but sits too far back to accept a charging cable.
For a detached port, use adhesive or epoxy glue to reattach it to the lighter’s body. Clean both surfaces with a dry cloth first. Apply the adhesive according to the product instructions and hold the port in proper alignment for the recommended time. Make sure the port opening faces outward correctly before the glue sets.
Allow adequate drying time before testing. Most adhesives need several hours to cure fully. Rushing this step will compromise the repair.
For a sunken port that’s still attached, the shrink tube method becomes your solution. Wrap electrical tape around shrink tubing, then insert it into the port opening. This adds material inside the port, bringing the connection point forward so your charging cable grips properly.
Test your repair with a power bank after the adhesive dries completely. Insert the charging cable slowly and check for a secure fit. The connection should feel snug without requiring excessive force.
If reattachment fails or the port remains unstable after repair, professional service becomes necessary. Attempting further fixes risks permanent damage to internal circuitry. A technician has specialized tools to properly reseat or replace the port assembly.
Testing and Verifying the Repair Was Successful
After completing your repair, you need to verify everything works correctly. This step confirms your fix actually solved the problem.
Start by gathering a power bank or USB charger that you know functions properly. Using a device you trust prevents confusion about whether the lighter or charger has the issue. Insert your charging cable into the repaired port slowly and deliberately.
Watch for these signs of success. The cable should slide in smoothly without excessive force. You should feel a firm connection without wobbling or movement. The charging indicator on your lighter should activate within a few seconds of connection.
Leave the lighter charging for at least 30 minutes. Monitor it during this time for any unusual heat, sparks, or burning smells. These warning signs mean you should disconnect immediately and stop using the device.
After 30 minutes, unplug the charger and feel the lighter’s body. It should be warm but not hot. Check your lighter’s battery level to confirm it actually charged. Most electronic lighters show a battery indicator or light when powered on.
Test the connection multiple times over the next few days. Disconnect and reconnect the cable at least five times. This repeated testing reveals whether your fix holds up under normal use conditions.
If the cable still feels loose, your shrink tube may need adjustment. You can remove it and rewrap with additional layers of electrical tape. If the port still doesn’t charge after these tests, the internal components may have permanent damage requiring professional service.
Document your results. Write down the date, charging duration, and whether your lighter reached full battery. This information helps you track the repair’s long term success and guides future troubleshooting if problems return.
Mistakes to Avoid When Fixing a Sinking Charging Port
Using metal toothpicks or paperclips causes serious damage to your lighter’s internal contacts. Metal scratches the delicate copper connections inside the port. This damage becomes permanent and makes future repairs harder.
Aggressive cleaning techniques destroy port components faster than they fix problems. Scrubbing hard with brushes or forcing objects into the port creates new issues. Your goal is gentle removal of debris, not forceful excavation.
Avoid using heat sources like lighters or heat guns on the port itself. High temperatures can melt plastic components and damage internal wiring. The shrink tube method specifically says never to apply direct heat to your port.
Don’t skip the drying step after cleaning. Moisture inside the port prevents proper electrical contact. Wait at least 24 hours after any wet cleaning before charging again.
Never force your charging cable into a tight port. Pushing hard can break the connector or damage internal pins. If resistance feels strong, stop and reassess your repair approach.
Skipping the power bank test is a common mistake. Testing with your actual lighter charger first masks problems that appear with other cables. A power bank reveals true connection quality.
Don’t assume one successful charge means your repair is complete. Ports can loosen again quickly if the underlying issue wasn’t fully addressed. Test multiple times over several days.
Avoid mixing different repair methods at once. Combining the shrink tube method with aggressive cleaning creates unpredictable results. Choose one approach and complete it fully before trying something else.
Stop immediately if you see sparks, burning smells, or visible damage inside the port. These signs mean professional repair is your only safe option.
Troubleshooting: When DIY Fixes Don’t Work
When your DIY fixes don’t produce results, you face a decision point. Your lighter still won’t charge properly despite your best efforts. This section explains what happens next and when to stop trying.
Professional repair services exist specifically for this problem. Technicians have specialized tools you don’t own at home. They can replace internal components without damaging surrounding parts. They also have access to replacement ports that match your lighter’s specifications.
Before seeking professional help, confirm you’ve completed all basic steps. Did you clean the port with compressed air? Did you try the shrink tube method? Have you tested with multiple chargers and cables? Sometimes the problem isn’t your lighter at all. Your charging cable or power source might be faulty instead.
Know when to stop trying. If your lighter shows visible cracks around the port, internal repair becomes risky. Sparks, burning smells, or discoloration indicate electrical problems beyond DIY solutions. Continuing attempts could create fire hazards or cause injury.
Cost considerations matter here. Professional repair might cost more than replacing your lighter entirely. Research both options before deciding. Some repair shops offer diagnostics for free, so you’ll know the exact problem first.
Document what you’ve already attempted. Write down which cleaning methods you used and what happened. This information helps repair technicians understand your lighter’s history. They won’t repeat failed approaches.
Contact local electronics repair shops in your area. Many service phone chargers and USB devices. Ask specifically if they repair electronic lighters. Some shops specialize in this work. Getting a quote takes just a phone call. You’ll know your options before committing to anything.
Final Thoughts
Fixing a sinking USB charging port takes patience and the right approach. You now have several methods to try at home. Cleaning debris often solves the problem quickly and costs nothing.
The shrink tube method works well for loose connections. It adds bulk to the port so cables fit snugly again. This fix takes only a few minutes to complete.
Testing your repair matters just as much as the fix itself. A power bank gives you honest feedback about whether the connection holds steady. Skip this step and you might miss ongoing problems.
Remember the mistakes to avoid. Metal tools and aggressive cleaning cause more harm than good. These shortcuts damage delicate internal contacts permanently.
Sometimes DIY fixes simply don’t work. Cracked housings or severely damaged ports need professional attention. Trying to force a repair on these can make things worse.
Your lighter’s charging port doesn’t have to stay broken. Simple tools and careful technique fix most sinking port issues. The plastic flosser toothpick and shrink tube method solve the majority of cases people face.
Start with the gentlest approach first. Clean the port, test it, then move to shrink tube repair if needed. This order prevents unnecessary damage to your device.
Keep your expectations realistic throughout this process. Not every port can be saved through home repair. Knowing when to stop protects your lighter from further harm.
Your patience pays off in the end. Most sinking port problems respond well to these fixes. Follow the steps carefully and your electronic lighter should charge normally again soon.
Frequently Asked Questions
Why does my USB charging port keep sinking into the lighter body?
The port loosens over time due to repeated inserting and removing your charging cable. Friction gradually separates the port from its housing. Debris like dust and lint also accumulate inside, making the connection feel loose. This is normal wear and tear, not a defect.
Can I fix a sinking port myself without professional help?
Yes, most sinking ports respond well to simple cleaning. Use compressed air to blow out debris from inside the port. A plastic flosser toothpick works safely to remove stubborn particles. If the port feels physically loose, wrapping shrink tube with electrical tape and inserting it into the port can tighten the connection.
What’s the safest way to clean the inside of my charging port?
Compressed air is your best option. It removes dust without touching delicate internal contacts. If you need to manually clean, use only a plastic flosser toothpick. Never use metal toothpicks or paperclips, as these scratch and damage the internal metal contacts permanently.
How do I know if my DIY repair actually worked?
Test your lighter with a power bank immediately after repair. Leave it charging for 10 to 15 minutes. Check if the cable stays firmly in place without wiggling. Test the connection again over the next few days. A successful repair means your cable sits snug and your lighter charges consistently.
When should I stop trying to fix it myself?
Stop if you see visible cracks around the port, sparks, or burning smells. If your lighter shows physical damage to the housing, professional repair becomes necessary. After completing all basic cleaning steps without success, professional help is your next move.

Hi, I’m Pearl Standen, the voice behind The Web Utility. I’m a passionate tech enthusiast who loves exploring the latest gadgets, smart devices, and electronics that make everyday life easier. Through my website, I share honest, well-researched reviews of trending Amazon products to help you make smarter buying decisions.