How To Fix Smart Plant Pot Water Level Float Sticking?
Smart plant pots make watering easy. They use a float mechanism that rises and falls with water levels. This float tells the sensor when your plant needs a drink.
But sometimes the float gets stuck. When this happens, your pot cannot read water levels correctly. Your plant might get too much water or not enough.
A sticking float is a common issue. It often happens when you skip calibration steps. It can also happen if you did not fill the pot properly during setup.
In a Nutshell
- The float moves up and down to track water levels inside your pot. This helps the sensor know when your plant needs water.
- A stuck float stops the sensor from reading water levels correctly. This leads to bad watering signals for your plant.
- Recalibration fixes most sticking issues. Open your app and tap the three dots. Then select your plant name, go to other settings, and choose water sensor.
- Skipping calibration after setup is a common mistake. Many people miss this step and face float problems later.
- Proper initial filling sets a good baseline for the sensor. This small step prevents many float issues down the road.
- Regular checks on the float keep your pot running smoothly. A quick look now and then can save you trouble later.
- App settings hold the key to most fixes. You rarely need tools or extra parts to solve this problem.
How the Water Level Float Mechanism Works
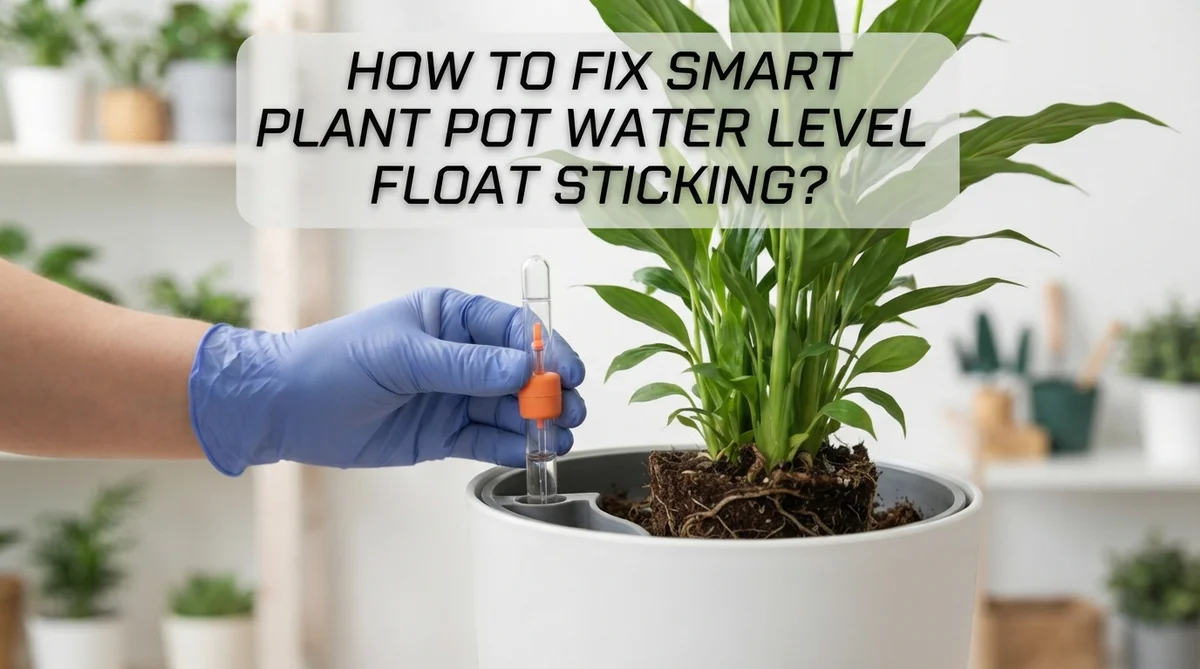
Your smart plant pot uses a simple but clever system to keep your plants healthy. Inside the pot sits a float that moves up and down as water levels change. Think of it like a bobber in a fish tank.
When you water your plant, the water rises. The float rises with it. As your plant drinks the water, the level drops. The float drops too. This movement triggers sensors in your pot to detect the current water level.
The sensor then sends this information to your app. Your app shows you exactly how much water your plant has. It tells you when watering is needed. This automation means your plant gets water at the right time, every single time.
The float mechanism works through basic physics. It’s buoyant, so it naturally floats on water. The pot’s internal design guides the float up and down smoothly. As the float moves, it activates switches or sensors that measure the distance it travels.
A stuck float breaks this entire system. When the float can’t move freely, the sensor can’t detect water level changes. Your app shows incorrect readings. You might think your plant needs water when it doesn’t, or vice versa.
Understanding this movement is key to fixing problems. Most sticking issues happen because of mineral buildup, debris, or dried plant material blocking the float’s path. The float gets trapped and can’t rise or fall properly.
When you know how the system works, you can spot problems faster. You’ll recognize when readings seem wrong. You’ll understand why recalibration matters. This knowledge helps you troubleshoot issues before they harm your plant.
Signs Your Float Sensor Is Sticking
Your smart plant pot relies on a float sensor to measure water accurately. When this float gets stuck, your pot cannot read the water level correctly. You need to know what signs to watch for so you can fix the problem before your plant suffers.
The first sign is incorrect watering notifications. Your app tells you to water when the soil is already wet. Or it says your plant has plenty of water when the pot is actually dry. These mixed messages mean your float is not moving freely.
Another warning sign is no response from the sensor. You water your plant, but the app never updates the water level. The display stays frozen at the same percentage. This happens because the float cannot move to trigger new readings.
You might also notice delayed updates. The app takes much longer than usual to show water level changes. Instead of updating within seconds, it takes minutes or even hours. This lag suggests the float is struggling to move smoothly.
Physical inspection can reveal problems too. Look inside your pot if possible. The float should move up and down easily. If it looks stuck in one position or moves very slowly, that confirms the issue.
Listen for unusual sounds when you move the pot. A stuck float sometimes makes clicking or grinding noises as it tries to move. Normal operation should be completely silent.
Pay attention to app error messages as well. Some smart pots display specific warnings about sensor problems. These alerts often appear right before the float stops working completely.
Catching these signs early helps you fix the problem quickly. Your plants stay healthy when you act fast.
Step-by-Step: Recalibrating the Water Sensor via the App
Your smart plant pot app holds the power to fix a stuck float sensor. The recalibration process resets how your device reads water levels. This simple step often solves sticking problems without any physical work.
Start by opening your app and finding your plant’s profile. Look for the three dots menu icon. This menu gives you access to advanced settings most people never use. Tap on the three dots to reveal your options.
Next, select your plant’s name from the menu. The app will show you plant specific settings. Scroll down until you find “other settings” or a similar option. This section contains sensor calibration tools.
Locate the water sensor option in other settings. Tap on it to enter calibration mode. Your app will give you clear instructions for the next steps. Read these instructions carefully before proceeding.
The app will ask you to fill your pot to a specific level. Use clean water and fill slowly until the app confirms you have reached the target level. Do not overfill or underfill at this stage. Accuracy here matters for future readings.
Wait for the app to confirm the calibration is complete. This usually takes 30 seconds to a few minutes. The app will show a success message when finished. Your sensor is now recalibrated to your current water conditions.
After recalibration, test your float by moving the pot gently. The app should respond with updated water level readings. Check your notifications to ensure they arrive on time. If problems continue, repeat the recalibration process one more time with extra care during the filling step.
Manually Freeing a Stuck Float
A stuck float requires hands-on action to free it. Start by emptying your smart plant pot completely. This gives you clear access to the float mechanism inside.
Locate the float by looking at the pot’s interior walls. Most floats sit on the side or bottom of the container. You’ll see a small buoyant piece that moves vertically along a guide track.
Gently push the float up and down with your finger. Move it slowly through its full range of motion. This manual movement helps break mineral deposits or debris that cause sticking. Repeat this action 10 to 15 times.
If the float feels rough or gritty, mineral buildup is likely the culprit. Fill the pot with distilled water mixed with a small amount of white vinegar. Let this solution sit for 30 minutes. The vinegar dissolves mineral deposits naturally.
After soaking, empty the pot and repeat the gentle pushing motion. The float should move more freely now. Rinse the entire pot with fresh water to remove any vinegar residue.
Test the float movement one final time. It should glide smoothly without resistance. If it still feels stuck, repeat the vinegar soak for another 30 minutes.
Once the float moves freely, refill your pot with fresh water. Open your app and recalibrate the water sensor. This step is crucial because manual freeing alone won’t fix calibration issues.
Your float should now respond correctly to water level changes. Monitor your app notifications over the next few days. Proper movement ensures your plant receives accurate watering signals going forward.
Proper Initial Setup for Accurate Sensor Baseline
Setting up your smart plant pot correctly from the start prevents many float sticking issues later. The initial setup is your chance to establish an accurate baseline for the water sensor.
Begin by filling your pot with fresh water to the level your app specifies. This step matters because the sensor learns what “full” means during this first calibration. Don’t skip this part or use water that’s already been in the pot. Fresh water helps the sensor read accurately without interference from mineral deposits or old residue.
Place your pot on a flat, level surface before starting calibration. Uneven surfaces confuse the sensor and create false readings. The float needs to move freely without tilting or catching on the pot’s sides. Make sure nothing blocks the float’s path inside the container.
Wait for the app to confirm the calibration is complete before moving forward. This confirmation tells you the sensor has registered the baseline water level properly. Moving the pot too soon interrupts the calibration process and creates problems later.
After initial setup, don’t move or shake the pot for at least 30 minutes. This gives the float time to settle and the sensor time to stabilize. The first 30 minutes are critical for accurate long-term performance.
Test the float gently by tilting the pot slightly. You should feel the float move inside without resistance. If movement feels stiff or sticky even during this first test, address it immediately before proceeding with regular watering.
This proper foundation prevents most float sticking problems from developing. A correctly calibrated baseline means your sensor will track water levels accurately for months ahead.
Common Mistakes That Cause Float Sticking
Many people make simple mistakes that cause their smart plant pot float to stick. Understanding these errors helps you avoid the problem before it starts.
Skipping the initial calibration is the biggest mistake. You receive your pot and start using it right away without following the app’s setup instructions. The float needs a baseline reading to work properly. When you skip this step, the sensor doesn’t know what “full” and “empty” actually mean for your specific pot.
Overfilling your pot regularly creates another common problem. You fill the water beyond the recommended level thinking your plant needs more hydration. This forces the float to stay at the top of its range constantly. Over time, the float gets stuck in this elevated position and loses its ability to move freely.
Using tap water with high mineral content damages the float mechanism. Minerals build up on the float’s surface and make it sticky. The float can’t slide up and down smoothly anymore. This buildup happens slowly, so you might not notice the problem until the float completely stops responding.
Ignoring small warning signs allows the problem to worsen. Your app shows delayed updates or error messages. You assume it’s a software glitch and ignore it. Meanwhile, the float is gradually getting stuck inside the pot.
Moving or shaking the pot frequently also causes issues. The float bumps against the pot’s walls repeatedly. This constant friction can damage the float or knock it out of alignment.
These mistakes are completely preventable. Pay attention during setup, use filtered water when possible, and respond quickly to app warnings. Your float will stay responsive and your plant will receive accurate watering signals.
Troubleshooting Persistent Sensor Errors
When your smart plant pot’s water level float gets stuck, sensor errors follow quickly. The float should move freely up and down as water levels change. When it stops moving, your app receives wrong information about when to water your plant.
Stuck floats cause two main sensor problems. First, your app might show the water level as always full even when it’s empty. Second, your app might indicate the pot needs water when it actually doesn’t. Both situations prevent your plant from getting the right amount of water.
The best way to identify a sensor error is to check what your app displays. Open your app and look at the water level indicator. Now physically check the actual water in your pot. If the app reading doesn’t match what you see, your sensor has an error.
Mineral buildup is the most common cause of sensor errors. Minerals from tap water collect on the float over time. This buildup makes the float sticky and prevents smooth movement. The stuck float can’t send accurate readings to your app.
To confirm a sensor error, try the gentle tilt test. Slowly tilt your pot to one side. Watch if the app water level changes on your screen. If it doesn’t respond to the tilt, your float is definitely stuck and causing errors.
Don’t ignore these error signals. A stuck float will get worse without action. Your plant will suffer from incorrect watering patterns. Address sensor errors as soon as you notice them. Quick action prevents bigger problems down the road and keeps your plant healthy and happy.
Maintenance Tips to Prevent Future Sticking
Preventing float sticking starts with regular cleaning habits. Clean your smart plant pot’s interior every two weeks using distilled water and a soft cloth. Distilled water removes mineral deposits that build up over time and cause the float to jam.
Check your water source carefully. Tap water contains minerals that accumulate on the float mechanism. Switch to filtered or distilled water for your smart plant pot. This simple change dramatically reduces sticking problems.
Perform monthly calibration checks through your app. Go to your plant settings, find “other settings,” and select “water sensor.” This keeps your float responsive and catches early sticking before it becomes serious.
Keep your pot on a flat, stable surface at all times. Uneven surfaces cause the float to drift and stick against the pot’s sides. Move your pot only when necessary.
Avoid overfilling your pot beyond the recommended water level. Excess water puts pressure on the float and causes it to bind. Fill only to the level your app suggests during setup.
Test your float gently once monthly. Tilt your pot slightly and listen for the float moving freely inside. You should hear a soft click or feel slight movement.
Replace your water every three to four weeks even if your plant doesn’t need watering. Stagnant water develops algae and mineral buildup that sticks the float.
Store your smart plant pot in a climate controlled space. Extreme temperature changes cause the float components to expand and contract, leading to sticking.
These maintenance steps take minimal time but prevent most float sticking issues from developing. Consistent care keeps your smart plant pot working reliably for years.
Final Thoughts
A sticking float does not mean your smart plant pot is broken. In most cases, it just needs your attention.
Small habits make a big difference. Regular cleaning, proper calibration, and clean water all keep the float moving freely.
Remember the app is your best friend here. It lets you recalibrate the water sensor in just a few taps. Use the three dots, tap your plant name, then open “other settings” and select “water sensor.”
Do not wait for problems to grow worse. A float that sticks a little today can stick completely next week. Catching issues early saves you time and stress.
Think of your smart pot like any other device. It works best when you care for it properly. Fresh water, gentle handling, and monthly checks all help the float move as it should.
Your plant depends on this small mechanism. When the float works correctly, your plant gets water at the right time. When it sticks, your plant may get too much or too little water.
The good news is that most fixes are simple. You do not need special tools or technical skills. A little cleaning and a few taps in the app solve most problems.
Keep your setup steady, your water source clean, and your calibration current. These three things prevent almost every float issue you might face.
Smart plant pots make plant care easier, not harder. A sticking float is a small bump, not a big problem.
With the tips in this guide, you can fix it quickly and keep your plant healthy. Your pot will work smoothly, and your plant will thank you with steady, healthy growth.
Frequently Asked Questions
Why does my smart plant pot float get stuck in the first place?
Water minerals build up on the float over time. Tap water contains dissolved minerals that collect on the mechanism. This sticky residue prevents the float from moving smoothly up and down. Hard water areas experience this problem faster than soft water areas.
How do I know if my float is actually stuck?
Do the gentle tilt test. Slowly tip your pot to one side. A working float moves freely with the water. If the float doesn’t respond to tilting, it’s stuck. You can also check your app. If the water level reading never changes, your float likely isn’t moving.
What’s the first step to fix a stuck float?
Try recalibrating your water sensor through the app. Open your app and tap the three dots menu. Select your plant name, then find “other settings.” Look for “water sensor” and follow the recalibration steps. This solves the problem in many cases without any physical cleaning.
When should I physically clean the float instead?
If recalibration doesn’t work, the float needs cleaning. You’ll need to remove the pot’s water carefully or empty it completely. Gently wipe the float with a soft cloth. Use distilled water to rinse away mineral deposits. Avoid harsh scrubbing that might damage the sensor.
Can I prevent this from happening again?
Yes. Use distilled water instead of tap water when possible. Perform monthly calibration checks through your app. Keep your pot on a flat surface. Never overfill beyond the recommended water level. These simple habits stop most sticking issues before they start.

Hi, I’m Pearl Standen, the voice behind The Web Utility. I’m a passionate tech enthusiast who loves exploring the latest gadgets, smart devices, and electronics that make everyday life easier. Through my website, I share honest, well-researched reviews of trending Amazon products to help you make smarter buying decisions.